Grow Larkspur from Seed: From Sowing to Stunning Blooms
Introduction
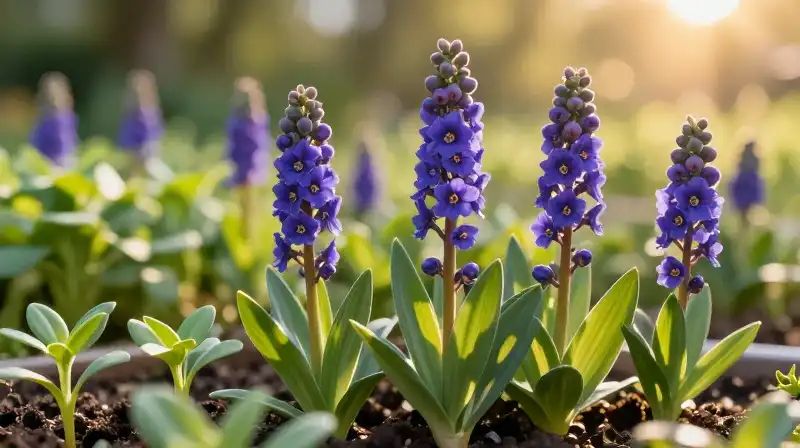
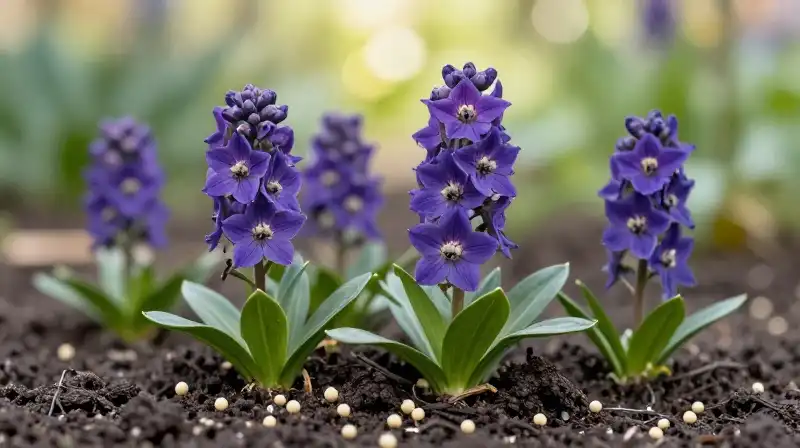
Larkspur is celebrated for its striking height and vibrant color, making it a premier addition to cottage gardens and floral arrangements. As a tall annual plant (reaching 36-48 inches), growing larkspur from seed offers the greatest potential for variety and impact. Success, however, hinges on understanding its specific environmental needs. This guide outlines the necessary steps to move from seed to bloom, focusing on the critical timing, temperature requirements, and ongoing maintenance essential for thriving larkspur in your garden.
Optimal Sowing Windows for Larkspur
To ensure your larkspur achieves a full season of bloom, timing your sowing is crucial. This plant is best suited for planting twice per year, capitalizing on temperature fluctuations:
- Early Spring: Sowing between February and June is ideal for a summer bloom. This allows the plants to develop during the warmer months.
- Fall: A second planting in September or October allows for bloom the following year. Fall planting can be advantageous in certain climates for extending the growing season.
When planning your garden, remember that larkspur requires specific climate conditions. It performs best in regions where summer temperatures remain relatively cool and demands full sun exposure to maximize its growth potential.
Mastering Germination: Pre-Chilling and Sowing Depth
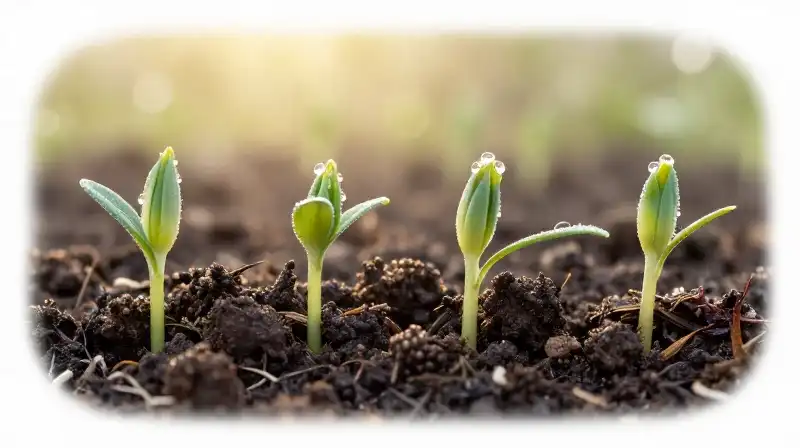
Achieving successful germination with larkspur from seed starts with preparing the environment correctly. Larkspur requires a cold period to trigger the germination process, known as pre-chilling, before it can establish roots:
- The Pre-Chill: Before sowing, pre-chill the seeds for seven days at a low temperature, ideally around 35°F (2°C).
- Temperature Requirements: Once sowing begins, maintain a consistent temperature range of 10-15°C for optimal germination. The soil temperature should reach 55°F (13°C) for successful sprouting.
- Sowing Technique: Use direct sowing rather than starting indoors, as the plant is a large, vigorous annual that needs the open ground. Plant seeds ¼ inch deep.
Establishing Strong Plants: Support, Soil, and Feeding
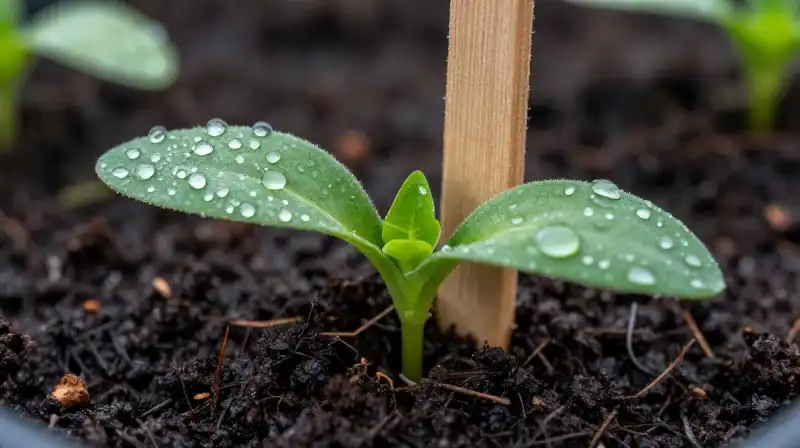
Because larkspur is known for its dramatic height, physical support is a mandatory requirement from the moment the stems begin to grow. Ignoring staking early on can lead to weakened, brittle, or wind-blown plants.
Soil and Planting Requirements
Larkspur thrives in highly specific soil conditions. For optimal results, select a blend that is:
- Rich and Slightly Alkaline: This pH range supports robust growth.
- Well-Drained: Even though the plant requires moisture, its roots cannot tolerate waterlogged conditions.
Maintain a spacing of 4 to 6 inches between stems to ensure proper air circulation and allow for maximum growth and floral density.
Encouraging Robust Growth
To encourage the 36-48 inch stature characteristic of larkspur, consistent care is required:
- Support: Stake the seedlings immediately after they emerge. Use strong, durable supports to handle the eventual weight and height.
- Nutrition: Feed the plants consistently using a high-potash fertilizer. Potassium is key to developing strong stems and abundant, vivid blooms.
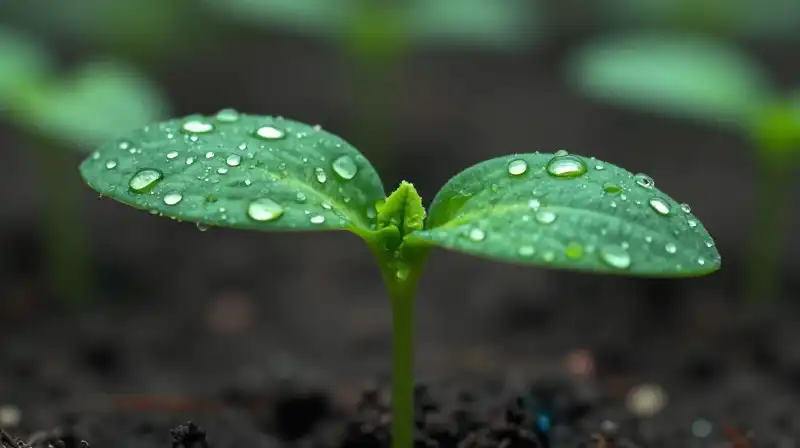
- Hydration: During the summer heat, keep the soil consistently moist. This moisture is vital for plant health and can also help mitigate the onset of common fungal issues.
Protecting Against Disease and Pests
Like many tall garden plants, larkspur can be susceptible to specific pests and diseases that can rapidly weaken the plant if not addressed.
Disease Management
Vigilance is required against several fungal and bacterial infections. Key issues to watch for include:
- Powdery Mildew: Often associated with high humidity and poor air circulation, maintaining excellent drainage and appropriate spacing is the best preventative measure.
- Rust and Bacterial Infections: Conditions such as delphinium black blotch demand that you monitor the foliage closely and remove affected parts to prevent spread.
Early Seedling Protection
In the early spring, when seedlings are most vulnerable, protect them from garden pests. Slugs and snails are common threats to young larkspur seedlings, and early removal or exclusion techniques are often the most effective deterrent.
Harvesting and End-of-Season Care
Larkspur can be utilized as a striking landscape flower or cut for arrangements. Knowing when and how to harvest can extend the beauty of your garden.
Cutting and Harvesting
To maintain a continuous flow of color, practice strategic pruning:
- Mid-Season Harvest: Cut back 2 to 3 basal flowers if you are aiming for a continuous display. For drying purposes, harvest just before the petals naturally begin to drop.
- End-of-Season Cut: Once the blooms begin to fade, cut back the flower spikes. In autumn, when the annual life cycle concludes, cut back the entire plant to allow the soil to settle.
Although seeds are the primary method of propagation, note that basal cuttings taken in the spring can provide an alternative method for those looking to propagate specific varieties.
Final Criteria for a Successful Larkspur Garden
To ensure your efforts with larkspur from seed result in a spectacular display, view the following criteria as your ultimate checklist. Since larkspur is a vigorous, tall annual, successful gardening relies less on luck and more on disciplined management.
- Commitment to Support: Staking must begin early, given the plant’s 36-48 inch potential.
- Drainage is Key: While moist soil is needed, always ensure the soil is well-drained to prevent rot and fungal infections like powdery mildew.
- Patience with Timing: Respect the temperature requirements—the initial pre-chill is not optional, nor is the 55°F (13°C) soil requirement for germination.
By observing these specific requirements—from the initial cool pre-chill to the diligent staking and specific nutrient feeding—you can ensure your larkspur reaches its full, vibrant potential.
How to Grow Larkspur from Seed
Pre-Chilling the Seeds
Before sowing, pre-chill the seeds for seven days at a low temperature, ideally around 35°F (2°C) to trigger germination.
Sowing and Initial Temperature Control
Maintain a consistent soil temperature of 55°F (13°C) and a surrounding air temperature of 10-15°C for optimal germination. Use direct sowing, planting seeds ¼ inch deep.
Establishing and Supporting the Plants
Stake the seedlings immediately after they emerge and maintain a spacing of 4 to 6 inches between stems to allow for proper growth and air circulation.
Nourishing and Watering
Feed the plants consistently using a high-potash fertilizer to ensure strong stems. Keep the soil consistently moist during the summer heat.
Protecting Against Pests and Disease
Monitor the foliage closely for pests (like slugs and snails) and fungal diseases. Ensure excellent drainage and appropriate spacing to prevent issues like powdery mildew.
Mid-Season Harvest and Maintenance
To maintain a continuous bloom, cut back 2 to 3 basal flowers mid-season, or harvest before petals naturally begin to drop if drying.
End-of-Season Care
Once blooms fade, cut back the flower spikes. In autumn, cut back the entire plant to allow the soil to settle for the winter.
Related Articles