
Manual Sod Removal: Step-by-Step Guide to Efficient Extraction

Introduction
Manual sod removal is a labor-intensive process critical for garden development, landscaping, or ground preparation. While machinery offers speed, many projects require a precise, manual approach to ensure complete removal without excessive soil disturbance. Efficient extraction relies heavily on preparation and technique, allowing the removal of heavy, rooted mats of turf without breaking the soil underneath or wasting effort on unmanageable chunks. This guide provides a detailed, step-by-step method to execute manual sod removal effectively.
Preparation and Layout
Before any digging begins, proper preparation ensures the task moves quickly and minimizes the effort required. Having the right tools and a clear plan for the removal area is paramount.
Essential Tools
The effectiveness of manual removal depends on having the correct implements readily available:
- Flat shovel: The primary tool for excavation and leverage.
- Strong gloves: Protect hands from sharp roots and soil.
- Measuring tape and layout markers: Essential for defining the removal boundaries.
- Water source: For pre-moistening the grass.
Defining the Strip and Pad Size
The key to efficient manual sod removal is not brute force, but controlled segmentation. You must establish a working rhythm based on the size of your tools:
- Strip Width: When cutting a strip of sod, the width should typically be defined as two to three times the width of your shovel blade. This allows for adequate purchase and leverage during the lifting phase.
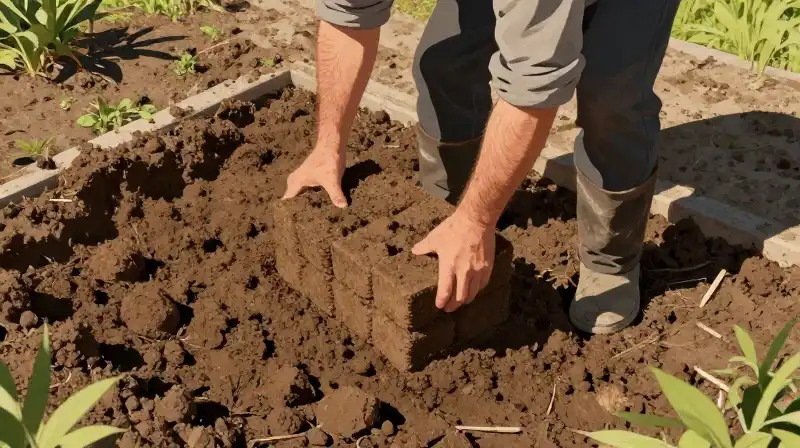
- Sod Pad Size: For optimal excavation, define the size of the individual sod pads to be no more than one to one-and-a-half lengths of the shovel blade. Keeping the pads small makes them easier to manage, carry, and move.
Crucially, ensure the grass is sufficiently moist before commencing work. Wet sod separates more cleanly and is easier to detach, significantly reducing the difficulty of the slicing process.
The Manual Removal Process: Technique and Leverage
The execution of the removal process requires careful sequence and specific directional forces. Follow these steps to maximize leverage and minimize soil loss.
- Outline and Start: Clearly outline the entire area slated for removal. Begin the removal process on the far side of the strip you plan to cut. Starting from the far edge ensures you establish the optimal leverage point for the initial lift.
- Cutting the Perimeter: Use the shovel edge to cut along the planned strip outline.
- Prying the Leading Edge: Gently pry up the leading edge of the sod pad, establishing the initial separation from the soil beneath.
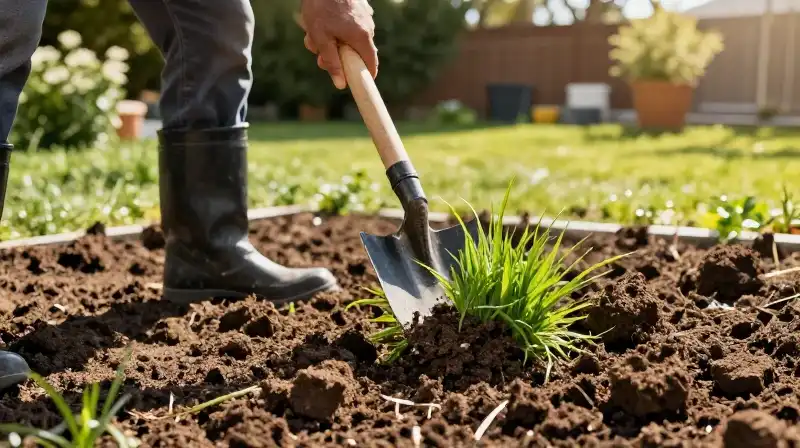
- Severing the Roots (The Critical Step): To prevent excessive soil loss and maintain manageable pads, you must sever the roots cleanly. Stab and slice the shovel parallel to the grass surface, cutting approximately 1 to 2 inches (3-6 cm) below the sod layer. This strategic slice prevents the entire soil mass from being dug up while ensuring the sod can be lifted.
- Sequential Removal: After cutting and severing a segment, move backward toward the center of the strip. This sequential process, working backward from the initial edge, maximizes the leverage you apply to each pad, making removal smoother and less strenuous.
Addressing Common Removal Methods and Break Down Techniques
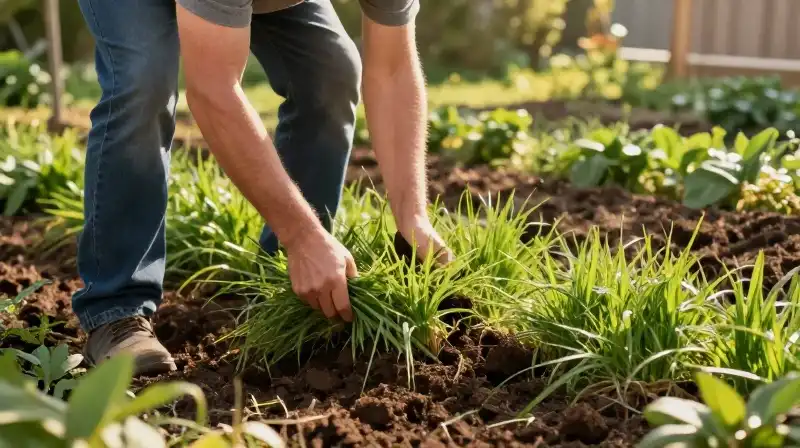
When dealing with thick, deeply rooted, or difficult sod, specific methods are used to “break down” old sod, often replacing manual effort with mechanical alternatives. While the manual method is ideal for precision, other techniques are available depending on the scale of the job.
Comparison of Sod Breakdown Methods
The choice of method depends on the area size and required precision. The manual method focuses on targeted severance.
| Method | Application | Pros | Cons |
|---|---|---|---|
| How to remove sod by hand | Small areas, precise landscaping, defined paths. | High control, minimal soil disruption, defined edges. | Labor intensive, slow for large areas. |
| Using a sod cutter / Sod removal machine | Large, uniform areas requiring quick clearance. | Fast, efficient, handles heavy sections easily. | Less precise, can tear roots or damage surrounding soil. |
| Using a pickaxe (Manual) | Extremely compacted or large, difficult patches. | Effective against dense material. | Can lead to excessive soil mixing, dangerous if used carelessly. |
For those asking how to break down old sod, the manual slicing method described above is the most controlled way to “break” it—you are not crushing it, but cleanly dividing it along the root system.
Post-Removal Management and Reuse
Once the sod pads are successfully removed, they can be repurposed rather than immediately discarded, saving disposal effort and potentially reducing costs. The harvested sod is a heavy, rooted material that holds nutrients and moisture.
- Filling Low Spots: Removed sod pads are excellent for filling low, sunken areas in the yard, providing instant, mature ground cover.
- Alternative Landscaping: Sod can be reused in other garden projects, such as building raised beds or covering exposed dirt sections where a fast, lush green patch is required.
Practical Warnings and Final Synthesis
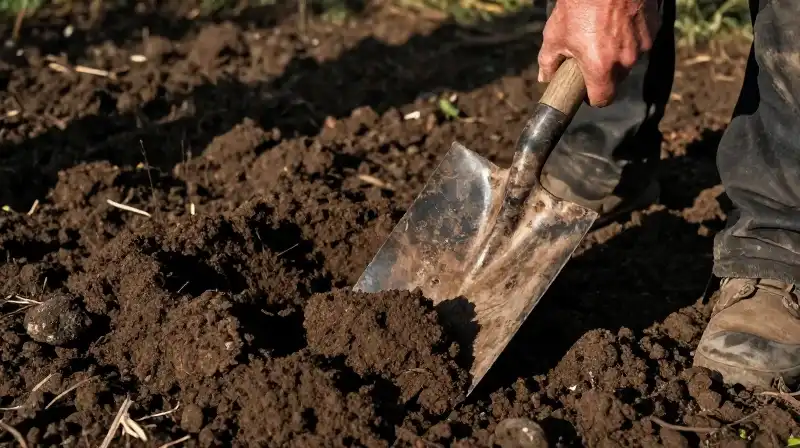
Successful manual sod removal is a study in careful application of force and strategic sequencing. While the method offers precise control, it is not without its limits and potential for strain.
Critical Considerations
- Wear Appropriate Safety Gear: Roots can be sharp, and soil can be unpredictable. High-quality gloves and sturdy boots are non-negotiable.
- Assess Scale Before Commencing: If the area exceeds a moderate size (e.g., several hundred square feet), the time commitment required for manual removal drastically outweighs the benefits. In such cases, consider renting a specialized sod removal machine.
- Mind the Soil Layer: The instruction to slice roots 1-2 inches deep is a guide to prevent catastrophic soil loss. Do not dig blindly; rely on the controlled severance method.
By prioritizing preparation, methodical strip segmentation, and leveraging controlled slicing rather than blunt digging, you ensure an efficient and clean extraction of the old turf.
Frequently Asked Questions
How to break down old sod?
The most controlled way to break down old sod is through a manual slicing method, which cleanly divides the sod along the root system rather than crushing it. This technique involves stabbing and slicing a shovel parallel to the grass surface to cut approximately 1 to 2 inches below the sod layer.
How to Perform Manual Sod Removal
Outline and Start
Clearly outline the entire area slated for removal. Begin the removal process on the far side of the strip you plan to cut, as starting from the far edge ensures you establish the optimal leverage point for the initial lift.
Cutting the Perimeter
Use the edge of the shovel to cut along the planned strip outline.
Prying the Leading Edge
Gently pry up the leading edge of the sod pad, establishing the initial separation from the soil beneath.
Severing the Roots
To prevent excessive soil loss, stab and slice the shovel parallel to the grass surface, cutting approximately 1 to 2 inches (3-6 cm) below the sod layer to sever the roots cleanly.
Sequential Removal
After cutting and severing a segment, move backward toward the center of the strip. This sequential process maximizes the leverage applied to each pad, making removal smoother and less strenuous.
Related Articles