
Building a DIY Garden Cage with PVC: A Step-by-Step Guide

Introduction
Traditional metal garden cages offer robust pest protection, but their significant weight can make them cumbersome, difficult to move, and challenging to manage, especially in smaller garden spaces. For those needing a functional, sturdy enclosure to keep squirrels, rabbits, and other pests away from their vegetables or plants, building a DIY garden cage using PVC provides a far more manageable and lightweight alternative. This guide outlines how to construct a durable crop cage using accessible plumbing materials, allowing you to create a customized shelter that offers full-surround protection without the heavy lifting.
Selecting the Right Components and Materials
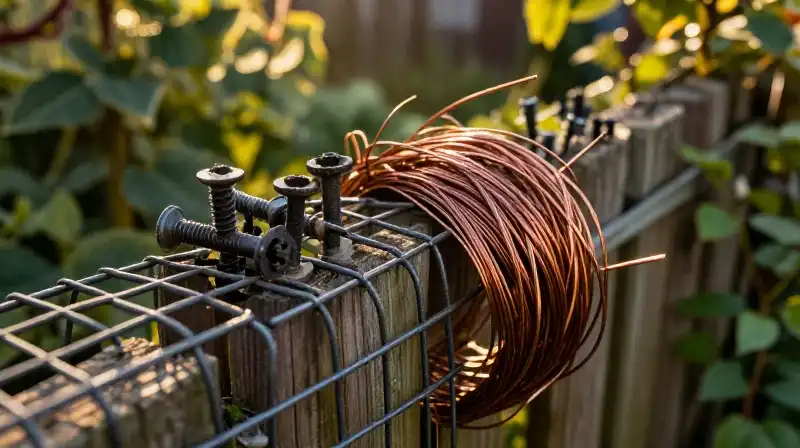
The success of your garden cage hinges on the balance between structural integrity and ease of use. Unlike heavy metal enclosures, a PVC build prioritizes lightness and functionality. Selecting the appropriate materials ensures your cage can support the mesh while remaining portable.
1. PVC Piping and Joints:
For the rigid skeleton, choose 1-inch or 3/4-inch diameter PVC pipes. The 1-inch diameter offers greater load-bearing capacity for larger or heavier gardens, while 3/4-inch is ideal for smaller crop cages where weight reduction is paramount. Assembly requires standard elbow and tee joints to form corners, supports, and any gate sections.
2. Lightweight Mesh:
When choosing the mesh, prioritize durability and low weight. Specialized deer barrier fencing is an excellent option; these materials are specifically designed to be durable against pests but are significantly lighter than standard welded wire or heavy metal mesh. While metal mesh is durable, it adds unnecessary weight and difficulty to the installation process.
3. Hardware and Connectors:
The primary method for securing the mesh to the PVC frame should be zip ties. These are highly effective for attaching lightweight mesh firmly to the PVC structure. For structural reinforcement, utilize secondary support screws and zip ties to ensure the cage remains stable over time.
Building the PVC Frame: Step-by-Step Construction
Building the base framework requires planning the height and dimensions based on the plants you intend to protect. Following these steps provides a stable foundation for the mesh:
- Draft the Blueprint: Determine the required dimensions (width, length, height) for your garden. Account for the width of the PVC pipes when calculating the total length of material needed.
- Assemble the Base: Begin by laying the horizontal PVC pipes (typically 1-inch diameter) on the ground or within a raised bed area, spacing the tee joints to define the cage footprint.
- Erect the Vertical Supports: Use additional PVC pipes for the vertical standards. Attach these to the base using the appropriate elbow joints. Maintain consistent spacing between the standards to ensure the frame is robust.
- Add Intermediate Supports: If your cage is tall or uses a heavy mesh, incorporate secondary PVC supports along the height of the cage. These provide extra resistance to the lateral pressure of the mesh and enhance stability.
Stability Tip: To further secure the structure, partially bury the base PVC pipes within raised garden beds or lay heavy blocks around the perimeter. This anchors the cage and prevents it from tipping in high winds.
Optimizing Functionality and Accessibility
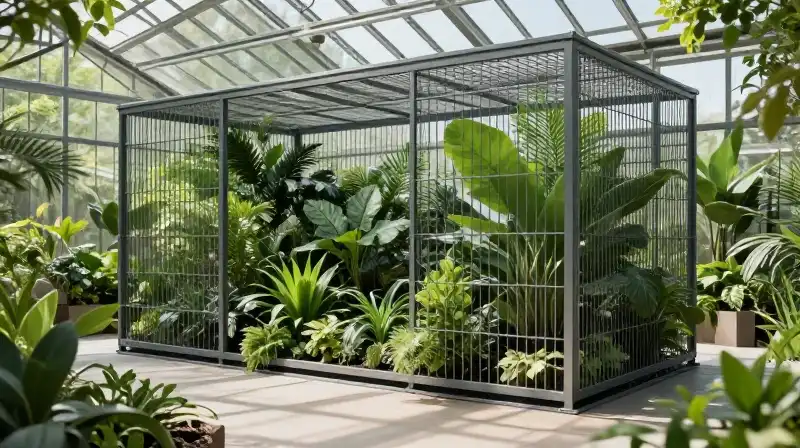
A truly functional garden cage is one that allows for easy maintenance, harvesting, and pest management. The DIY approach allows you to customize features that heavy metal cages often lack.
Incorporating an Access Door:
The most critical optimization is adding an accessible front “door” or gate. Instead of building a solid enclosure, dedicate one section to a hinged gate. This gate can be constructed using smaller PVC sections and secured with common hardware like screws and simple hinges. This access allows you to step inside the cage to manually remove pests or reach the base of plants without compromising the entire perimeter of the crop cage.
Mesh Installation and Reinforcement:
Once the frame is set, drape your lightweight mesh over the structure. Use zip ties strategically at the joints and along the perimeter of the PVC frame to secure the mesh. Ensure the mesh sits flush against the PVC to maintain full pest exclusion. Use secondary zip ties for final reinforcement, particularly where the mesh meets the vertical supports.
Comparing PVC Construction to Metal Alternatives
While competitor products often feature steel poles for added strength, the DIY PVC route offers specific advantages for the gardener who values maneuverability and resource efficiency:
Weight and Portability: PVC is inherently lighter than steel. This makes moving the entire cage—a vital function when you need to relocate plants or during seasonal changes—far more manageable without requiring a two-person lift.
Customization: With DIY PVC, you can adjust the dimensions, shape, and features (like a pivoting gate or specific venting) far more easily than modifying a pre-built metal cage.
Maintenance: Plastic PVC is resistant to rust, whereas steel is prone to corrosion over time, necessitating regular treatment to maintain the structural integrity of the metal.
| Feature | DIY PVC Cage | Heavy Metal Cage |
|---|---|---|
| Weight | Light, highly portable | Heavy, often requiring multiple people to move |
| Corrosion Resistance | Excellent (no rust) | Moderate (requires protective coating) |
| Customization | High; easy to modify size and shape | Low; fixed dimensions |
Practical Considerations and Limitations of the Build
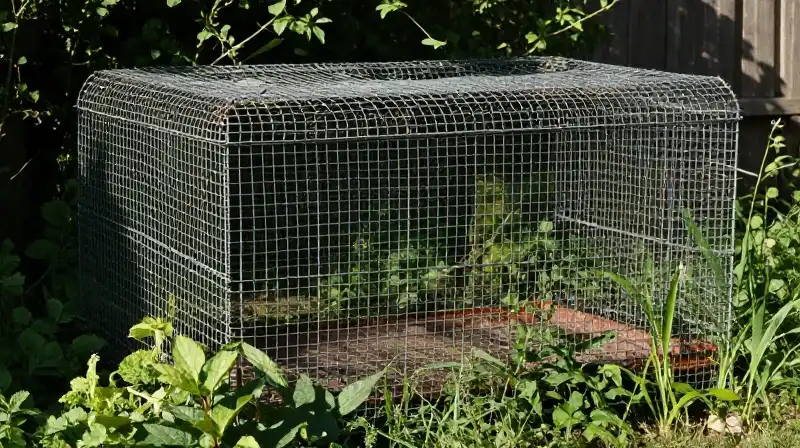
While PVC is an excellent choice for a functional garden cage, understanding its practical limits is crucial for long-term success.
Load and Size Limits: PVC is not ideal for extremely large or heavy-duty applications. For very wide or exceptionally tall cages, you may encounter a deflection (bending) in the pipes over time. If maximum durability is required, consider reinforcing the PVC frame with structural steel inserts at the joints.
Securing the Structure: Always use reliable anchors. PVC, while durable, should not bear substantial weight independently. By partially burying the base or utilizing sturdy zip ties anchored to fixed garden structures, you prevent instability and potential shifting.
Final Synthesis: Crafting Your Permanent Protection
Designing a DIY garden cage with PVC involves more than simply connecting pipes; it is about creating a balance between protection, structural integrity, and usability. By selecting a lightweight PVC skeleton and pairing it with durable, lightweight deer barrier fencing, you achieve a powerful pest deterrent. Focus on incorporating a clear access point for maintenance and use the inherent stability of partially buried bases to ensure the cage remains secure throughout the growing season. This functional approach provides a robust, manageable, and highly customizable solution for protecting your precious harvest.
How to Build a DIY PVC Garden Cage
Draft the Blueprint
Determine the required dimensions (width, length, height) for your garden and account for the width of the PVC pipes when calculating total material needs.
Assemble the Base
Lay the horizontal PVC pipes (typically 1-inch diameter) on the ground or within a raised bed area, using tee joints to define the cage footprint.
Erect the Vertical Supports
Attach additional PVC pipes as vertical standards to the base using appropriate elbow joints, maintaining consistent spacing for a robust frame.
Add Intermediate Supports
If the cage is tall or uses heavy mesh, incorporate secondary PVC supports along the height to provide resistance to lateral pressure and enhance stability.
Secure the Structure
For stability, partially bury the base PVC pipes within the garden bed or place heavy blocks around the perimeter to anchor the cage and prevent tipping.
Incorporate an Access Door
Dedicate one section of the frame to a hinged gate using smaller PVC sections and hardware like screws and hinges for easy access.
Install the Mesh
Drape the lightweight mesh over the completed PVC frame, ensuring it sits flush against the structure to maintain full pest exclusion.
Attach and Reinforce the Mesh
Use zip ties strategically at the joints and along the perimeter of the PVC frame to secure the mesh, employing secondary zip ties for final reinforcement where the mesh meets vertical supports.
Related Articles