
Introduction
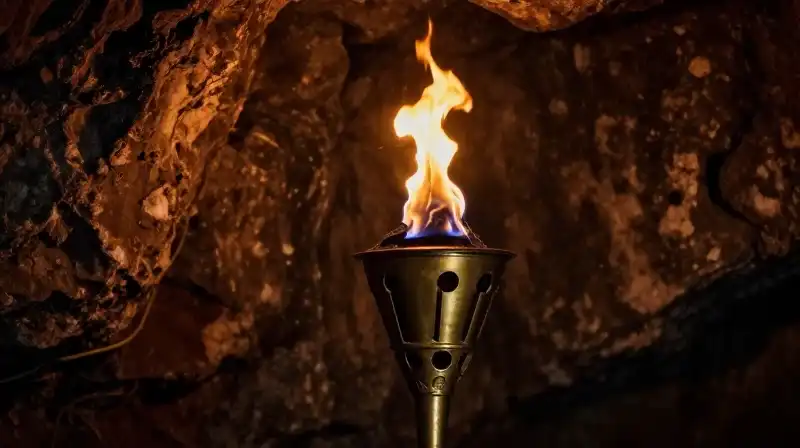
Creating a simple flaming torch is a straightforward process, but because it involves open flames and combustible materials, safety must be the primary focus. This guide outlines a practical, step-by-step method for constructing a stable, handheld torch suitable for decorative purposes, school projects, or as a prop. Whether you are crafting a torch for a performance, a craft display, or a DIY living project, the key is selecting the right materials and ensuring stable structural integrity before ignition.
Safety First: Essential Precautions Before Starting
A functioning flaming torch requires strict adherence to safety protocols. Never attempt this project indoors without proper ventilation and fire containment. Always perform testing outside or in a designated, safe outdoor area.
Before assembling, gather all necessary safety gear and prepare the environment:
- Clear Area: Ensure the area is free of flammable materials, overhanging trees, or dry grass.
- Fire Extinguisher: Have a working fire extinguisher immediately accessible.
- Handling: Always wear appropriate protective gloves and safety goggles while handling combustible materials and heat.
- Supervision: Never leave a flaming torch unattended.
Materials and Tools for Torch Assembly
The components required depend on whether you want a quick, basic prop or a more refined, durable torch. For a simple, DIY project, the following are sufficient. For more professional results, consider using hessian cloth or pre-made torch casings.
Required Materials:
- Stave/Handle: A sturdy, clean wooden stick or dowel (wood is traditional and effective).
- Fuel/Combustible Material: Flammable liquid (e.g., kerosene, or a specific high-grade paraffin suitable for controlled flames).
- Wicking Material: A material capable of drawing the liquid up and sustaining a flame (e.g., thick cotton string, heavy jute cord, or strips of absorbent cloth).
- Securing Material: Hot glue, epoxy, or thin cord to hold the wick/fuel in place.
Required Tools:
- Knife or scissors (for cutting wick and securing material).
- Matches or lighter (for ignition).
- Optional: Heat gun (if using heavy wax or thick material).
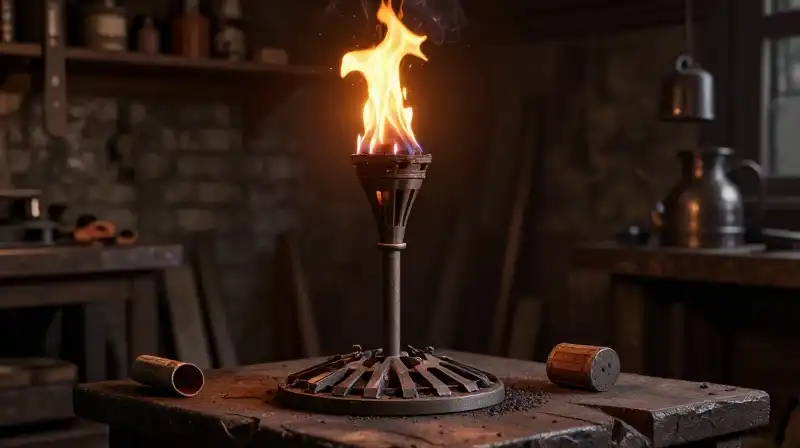
Step-by-Step Construction Guide
Follow these sequential steps to build your basic flaming torch. Remember that the stability of the wood and the secure placement of the wick are crucial for a consistent burn.
- Prepare the Stave: Select and clean your wooden stick or dowel. Ensure it is free of sap or residue that could interfere with the application of fuel.
- Prepare the Wick: Cut a length of your chosen wick material. This wick must be long enough to extend beyond the tip of the stave so it can hold fuel and sustain the flame.
- Apply the Fuel: Carefully soak the wick with your chosen flammable liquid. Ensure the wick is saturated but not dripping excessively.
- Attach and Secure: Fasten the fueled wick securely to the very tip of the wooden stave. This can be done using a small amount of hot glue or by wrapping the wick tightly around the tip and securing it with strong binding material (like tightly wound thread).
- Curing and Testing: Allow the assembly to rest for a brief period so the fuel properly saturates the wick. When ready, perform the ignition process outside in a controlled environment, monitoring the flame closely.
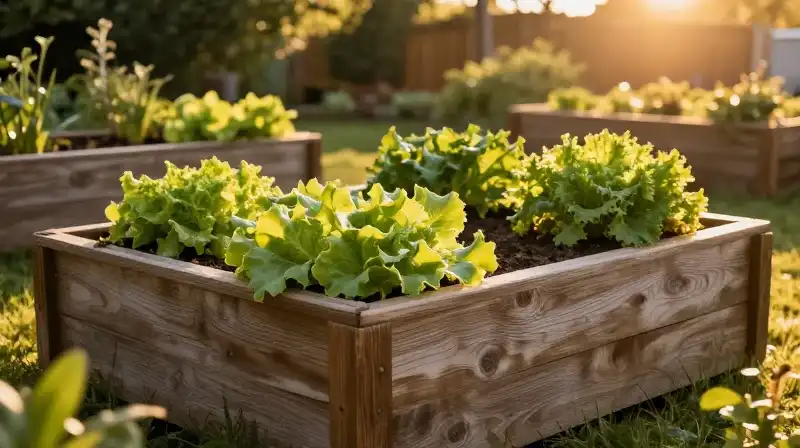
Flaming Torch vs. Billbergia Pyramidalis: Clearing Common Confusion
The term “flaming torch” is used both for the crafted device and a natural plant species, which often causes confusion during searches. It is important to distinguish between the two:
| Feature | DIY Flaming Torch | Billbergia Pyramidalis (Flaming Torch Plant) |
|---|---|---|
| Nature | Man-made, combustion-based device. | A species of bromeliad native to South America. |
| Composition | Wood, fuel, wick, adhesive. | Biological organism (plant). |
| Function | Illumination, performance, or symbolic display. | Ornamental gardening, horticultural interest. |
If your intent is a sustainable, non-combustible decorative piece, research the *Billbergia pyramidalis* for its unique appearance.
Variations: Choosing a Torch for Specific Needs
The functional requirements of the torch dictate the best construction method and materials:
For Prop and Decoration
If the torch is purely for visual effect and will never be lit, avoid open flames entirely. Instead, create a torch replica using lightweight PVC pipe or cardboard. Fill the end with colored LED lights and battery-powered flicker effects. This allows for safe, repeatable use in venues where fire is prohibited.
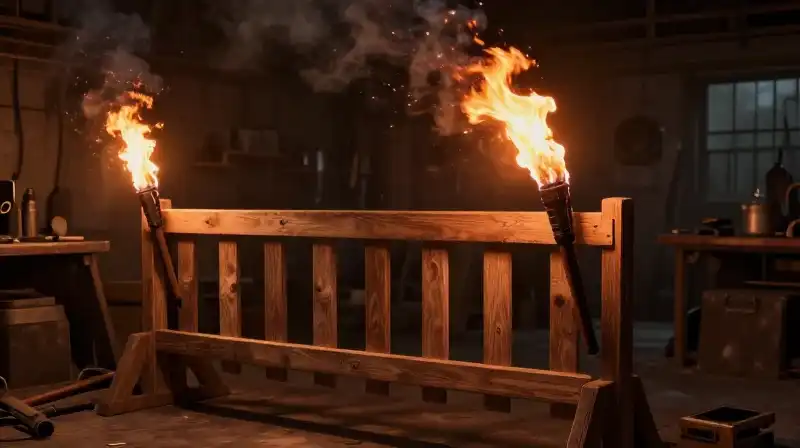
For Functional/Handheld Use
When building a torch designed to be carried, ensure the balance is centered and the attachment point is robust. Use a sturdy, tapered wooden stave to maintain a good handle-to-flame ratio. The fuel and wick must be high-grade to ensure a clean burn, minimizing residue and smoke.
Alternative High-Safety Options
Modern, specialized versions of torches (like those used in parades) often utilize coarse hessian or specialized composite tubes and specific saturated fuels (like refined kerosene). These are generally more durable and consistent than a simple wooden stick and are designed for controlled movement.
Practical Limits and Cautions for Pyrotechnic Projects
While this guide details how to build a simple torch, it is essential to understand its limitations. A simple, homemade torch cannot match the consistency or safety standards of commercially produced professional torches used in large-scale events. Homemade devices are suitable for controlled, localized projects only.
Key Operational Limits:
- Burn Duration: Simple homemade torches will have a limited operational lifespan, depending on the fuel reservoir capacity.
- Temperature: The heat produced by a simple DIY torch can be intense and should be managed appropriately.
- Regulation: Depending on local bylaws, carrying or deploying an open flame in public spaces may require permits. Always check local regulations.
By prioritizing safe material choices, ensuring structural integrity, and adhering to strict fire safety guidelines, you can successfully craft a flaming torch that is both visually striking and practical for your intended use.
Frequently Asked Questions
Is flaming torch a perennial?
The article identifies a natural plant species called Billbergia Pyramidalis, which is a bromeliad native to South America. However, the text does not specify whether this plant is a perennial.
How to Construct a Basic Flaming Torch
Prepare the Stave
Select and clean your wooden stick or dowel. Ensure it is free of sap or residue that could interfere with the application of fuel.
Prepare the Wick
Cut a length of your chosen wick material. This wick must be long enough to extend beyond the tip of the stave so it can hold fuel and sustain the flame.
Apply the Fuel
Carefully soak the wick with your chosen flammable liquid. Ensure the wick is saturated but not dripping excessively.
Attach and Secure
Fasten the fueled wick securely to the very tip of the wooden stave. This can be done using a small amount of hot glue or by wrapping the wick tightly around the tip and securing it with strong binding material (like tightly wound thread).
Curing and Testing
Allow the assembly to rest for a brief period so the fuel properly saturates the wick. When ready, perform the ignition process outside in a controlled environment, monitoring the flame closely.
Related Articles