

Introduction
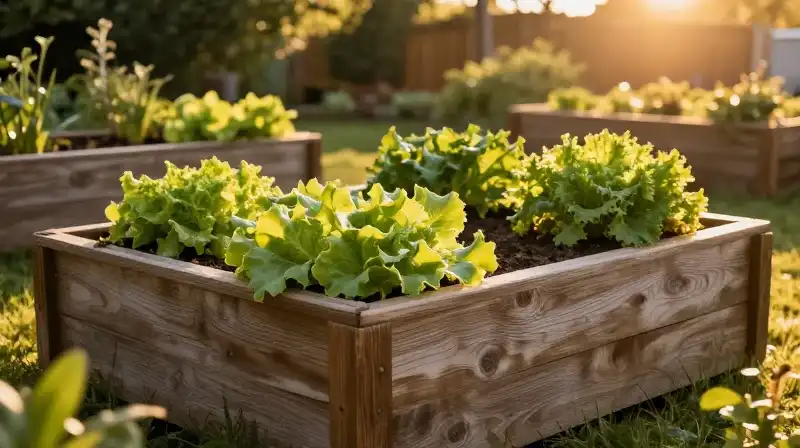
Building a garden with Birdies raised garden beds offers a structured, long-lasting solution for small-space gardening. These modular metal kits are designed to simplify the creation of a contained, weed-free planting environment, yet successful implementation relies on proper planning and execution. This guide provides a detailed, step-by-step walkthrough—from selecting the right materials to the final planting—to ensure your garden bed is durable, functional, and optimized for plant growth.
Planning and Site Preparation
 The success of any Birdies raised garden bed begins before assembly starts. Proper planning prevents costly mistakes regarding placement, drainage, and load bearing.
Selecting the Optimal Location
Choose a site that satisfies the core needs of the plants you intend to grow.
- **Sunlight:** Most vegetables require a minimum of 6 to 8 hours of direct sunlight per day. Avoid areas shaded by tall buildings or dense trees.
- **Drainage:** Select a flat area where water does not pool. Metal kits, while durable, can trap moisture if the underlying soil is consistently waterlogged.
- **Accessibility:** Ensure you can comfortably reach all sides of the bed to plant, tend to, and harvest without stepping on the soil or compacting the ground unnecessarily.
Determining Dimensions and Material Needs
Before purchasing or starting construction, confirm the specifications of your specific Birdies kit.
- **Footprint:** Measure the available space and select a kit that fits. For example, the Birdies 4-Pack Jumbo Modular Metal Raised Garden Bed Kit provides significant vertical growing space.
- **Load Bearing:** Consider the total weight, which includes the metal frame, soil, and mature plants. Ensure the ground can support this load, especially for heavy-duty or large galvanized steel models.
- **Anchoring:** While some metal kits are heavy enough to resist wind, if you are placing the beds on uneven ground, anchoring them may be necessary to prevent shifting over time.
Assembling the Birdies Metal Garden Beds
The assembly of Birdies metal kits is generally straightforward due to their modular design. However, precision during this phase is crucial for a stable structure.
Step-by-Step Assembly Process
Follow these general guidelines when assembling your Birdies kits.
- **Unpacking and Inventory:** Lay out all components (panels, connectors, and hardware) on a clear, level surface. Compare the parts against the manufacturer’s instructions to ensure nothing is missing.
- **Base Placement:** If the kits require a base frame, assemble and place it in the designated location. Level the area beneath it using garden spikes or small pads to ensure it sits flat.
- **Vertical Panel Connection:** Secure the side panels to the base using the provided bolts and connectors. Tighten them firmly, ensuring the edges are flush and vertical.
- **Structural Reinforcement:** If your model includes internal bracing or support crossbars, install these now. Proper bracing prevents the metal from bowing under the weight of the soil and heavy plants.
- **Waterproofing (Optional but Recommended):** Consider applying a breathable liner (such as landscape fabric or a heavy tarp) to the interior before adding soil. This can help prevent metal oxidation or provide a neat edge for your root systems.
Selecting the Right Material: Galvanized Steel vs. Others
 As you choose your garden bed, the material significantly influences longevity and maintenance. Birdies often utilizes various metals, and knowing the differences helps in making a durable investment.
Evaluating Metal Types
- **Galvanized Steel:** This type offers robust protection against rust and corrosion. Galvanized coating provides a layer of zinc that acts as a barrier, making galvanized steel raised garden beds a popular, long-lasting choice, especially in damp climates.
- **Heavy Duty Metal:** Often, these models use thicker gauge steel and may include more robust internal supports. If your area experiences strong winds or you plan to grow extremely heavy root crops, opting for heavy duty metal provides superior structural integrity.
- **Powder-Coated/Painted:** These offer aesthetic variety and an extra layer of superficial protection. Check the quality of the paint; cheap coatings can flake, exposing the metal to rust.
Decision Criteria for Your Purchase
| Factor | Consideration | Recommendation | | :--- | :--- | :--- | | **Longevity** | Resistance to rust and weathering. | Look for galvanized or powder-coated finish. | | **Weight Capacity** | Ability to support large quantities of wet soil. | Choose heavy-duty models for high-yield gardening. | | **Aesthetics** | How the bed looks in your landscape. | Select colors or finishes that complement your yard. | | **Ease of Use** | Assembly complexity and modularity. | Review the kit’s design for modularity if you want flexible sizing. |
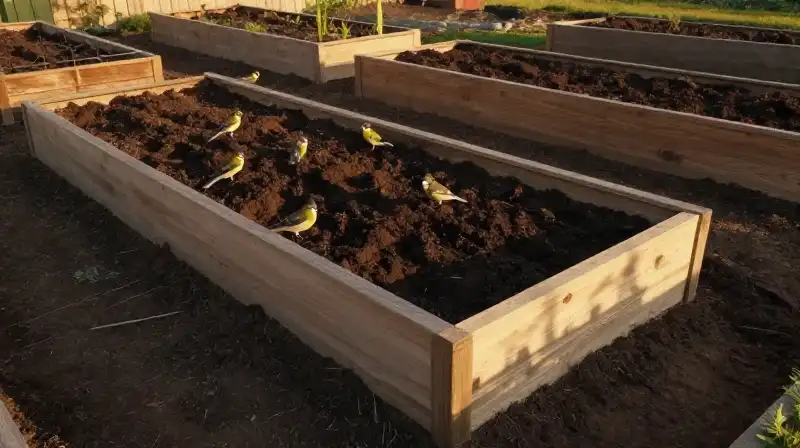
Filling the Bed and Soil Preparation
The structure is only as good as the soil inside. Simply filling a Birdies bed with native garden dirt is often insufficient for optimal plant health.
Creating the Perfect Growing Medium
A well-draining, nutrient-rich mixture is essential.
Standard garden soil is often too dense for container or raised bed environments. The ideal mix should mimic forest floor conditions—aerated, balanced, and moisture-retentive without becoming waterlogged.
- **Recommended Components:** Use a ratio of roughly 1 part topsoil, 1 part high-quality compost, and 1 part aeration medium (such as vermiculite, perlite, or coarse sand).
- **Layering Method:** For larger, deeper beds, consider a “lasagna” method or simply filling to the very top, allowing room for future watering and plant growth.
Addressing Drainage and Watering Habits
Since Birdies beds are contained, drainage is critical. Ensure that excess water has a path. In modular kits, this usually means keeping the bottom edge slightly elevated or checking for any built-in drainage holes. Avoid overwatering; check the soil moisture by sticking your finger deep into the bed before adding more water.
Common Pitfalls and Optimization Techniques
 Even with high-quality components like Birdies metal beds, common mistakes can hinder your garden’s productivity.
Mistakes to Avoid
- **Incomplete Assembly:** Never skip tightening bolts fully. Loose connections can lead to instability, especially when the bed is saturated with heavy soil.
- **Soil Compaction:** Avoid walking on or stepping inside the filled bed once planting begins. Compacted soil restricts root growth and severely limits water absorption.
- **Ignoring Plant Needs:** Ensure you are providing the correct amount of light and spacing. Overcrowding, even in a large raised bed, leads to reduced yields and plant disease.
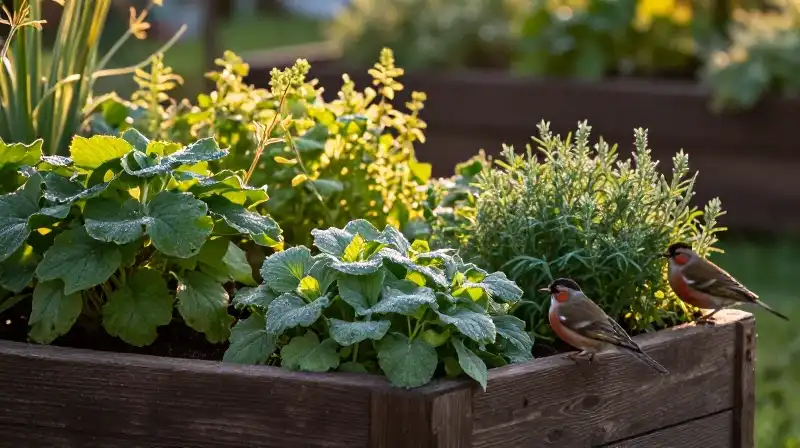
Optimization for Yield and Health
- **Vertical Gardening:** Use the height of the Birdies beds to your advantage. Install trellises or cages for climbing vegetables (e.g., tomatoes, pole beans) to maximize space and improve air circulation, reducing fungal disease.
- **Nutrient Cycling:** Integrate organic matter like aged manure or worm castings into your soil every few months. This ensures continuous nutrient supply without relying solely on chemical fertilizers.
Final Steps: Maintenance and Long-Term Care
 Birdies raised garden beds are designed for durability, but consistent care ensures their structural integrity and the health of your crops.
Perform a visual inspection of the metal frame annually, particularly after winter freeze-thaw cycles. If you notice any signs of rust developing outside of a galvanized or coated finish, treat the area immediately with a suitable metal primer and paint to prevent widespread corrosion. Once the growing season ends, it is prudent to empty the beds, remove any decaying plant material, and allow the soil to dry out naturally before adding a fresh top layer of compost and ready for the next season.
Related Articles