Wicking Beds: DIY Construction Guide for Self-Watering Gardens

Introduction
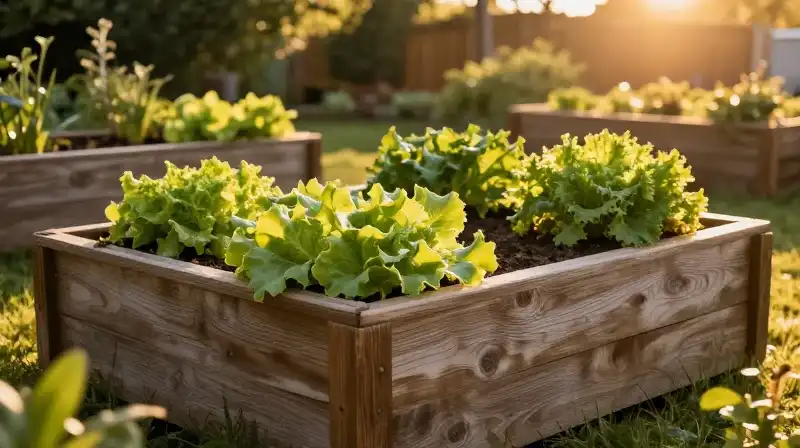
Wicking beds are a specialized form of raised garden beds designed to automate irrigation, ensuring plants receive consistent moisture directly from a water reservoir at the base. Unlike traditional surface watering, where water is applied to the soil surface, a wicking system delivers water from the bottom up through capillary action. This design creates a self-watering system that mitigates the risks of drought, overwatering, and inconsistent soil moisture, which are common issues in typical outdoor living and garden applications. This guide provides a comprehensive, detailed breakdown of the requirements and methodology for constructing your own functional wicking beds DIY.
Understanding the Wicking Mechanism
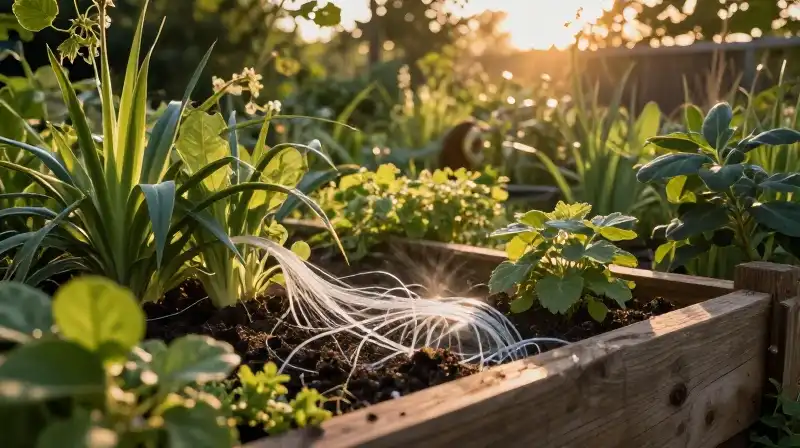
The fundamental principle of a wicking bed relies on the soil’s ability to draw water up through the roots. The design must facilitate this process while preventing stagnation. A self-watering system requires three core components to function: a reservoir (the base that holds the bulk of the water), a wicking medium (soil/substrate that draws the water), and a pathway for excess water. Understanding this flow is crucial before starting construction. A poorly engineered system will lead to waterlogging or, conversely, rapid wilting.
Selecting and Preparing the Structural Components
The choice of material and its initial preparation dictates the bed’s longevity and functionality. The container must hold a sufficient volume of water while allowing for the integration of plumbing.
Material Considerations
Depending on your needs and budget, several materials can serve as the wicking bed foundation:
- Wood: While aesthetically pleasing, wood requires an internal, impermeable lining (such as thick pond liner or heavy plastic sheeting) to prevent water seepage and rot. This lining must be attached securely to the interior walls.
- Metal (Corrugated or Galvanized): Metal offers durability and weather resistance but also requires thorough sealing and lining to prevent rust where the water contacts the structure.
- IBC Containers: Intermediate Bulk Containers are excellent, large-capacity options, often requiring only minor modification and internal reinforcement.
Structural Requirements
Regardless of the material, the structure must accommodate specific plumbing components. The design must include:
- A dedicated Inlet Pipe: The entry point for adding water to the system, typically located near the reservoir to maximize water retention.
- An Overflow Pipe: This is essential for managing and removing excess moisture and preventing root suffocation, ensuring the reservoir does not become stagnant.
- A Connecting or Bendy Pipe: This component facilitates the necessary flow and connects the inlet and overflow points within the structure.
DIY Construction Steps: Building the Bed
The construction process is sequential, focusing on structural integrity before adding the soil medium.
- Establish Dimensions: Determine the final size. Wicking beds are most effective when the soil layer is sufficiently deep to allow for optimal water retention (usually 12-18 inches of soil).
- Prepare the Base: If using a wooden bed, install and secure the internal liner, ensuring no sharp edges remain. If using metal, apply appropriate sealant.
- Drill and Secure Plumbing: Carefully drill holes into the designated locations for the inlet and overflow pipes. These holes must be reinforced or sealed to prevent leaks. Attach the pipes and the connecting bendy pipe according to the system design.
- Install Drainage and Reservoir: At the very bottom of the bed, install a layer of coarse, inert material (gravel or leca). This creates the dedicated reservoir space beneath the growing medium.
- Layer the Sub-Structure: Place a barrier layer (such as weed-proof geotextile fabric) over the gravel reservoir. This allows water retention while preventing the soil from washing into the drainage layer.
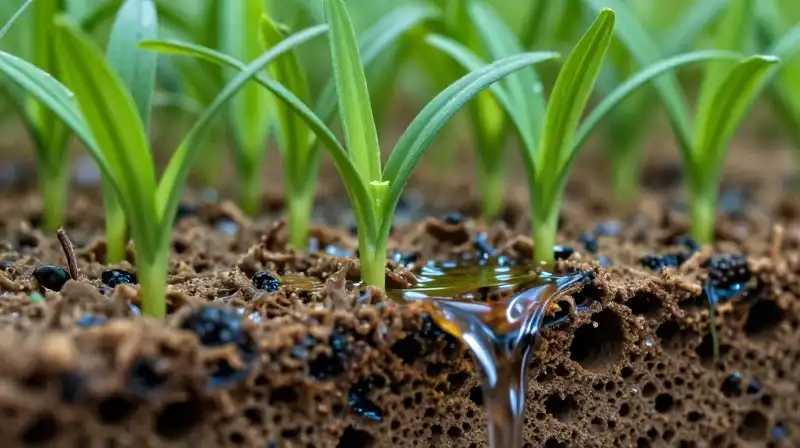
- Add Wicking Medium and Soil: Begin filling the bed with the engineered soil mix. The soil itself acts as the wicking medium, drawing water upward. Ensure the soil level is below the overflow point but high enough for deep root growth.
Designing the Sub-Structure: What Goes at the Bottom?
To successfully answer the query regarding what belongs in the bottom of a wicking bed, the answer involves creating a layered reservoir system. The design must ensure that the soil can draw water effectively without the water remaining stagnant in the main container.
| Layer | Purpose | Practical Application |
|---|---|---|
| Bottom Reservoir Space | Holds the bulk of the water supply. | The physical space at the very bottom of the container. |
| Inert Drainage Layer | Prevents compaction and facilitates water movement. | Coarse gravel or expanded clay (LECA) laid across the bottom. |
| Separation Layer | Prevents the soil from filling the reservoir. | A layer of specialized fabric or landscape fabric. |
| Wicking Soil Medium | Absorbs and delivers moisture to the roots. | A specialized mixture of soil, compost, and organic matter. |
Wicking Beds vs. Traditional Drip Irrigation
While both methods provide controlled water delivery, they operate on different principles. A wicking bed is a passive, continuous system based on capillary action, meaning once the water is in the reservoir, the plant pulls it up as needed. This provides extremely consistent moisture. Traditional drip irrigation, conversely, is an active system requiring a pump and timers, delivering water on demand to the plant surface. Wicking beds are generally better suited for containers and where highly consistent moisture is required, as they eliminate the variables of watering schedules and environmental evaporation from the soil surface.
Long-Term Operation and Optimization
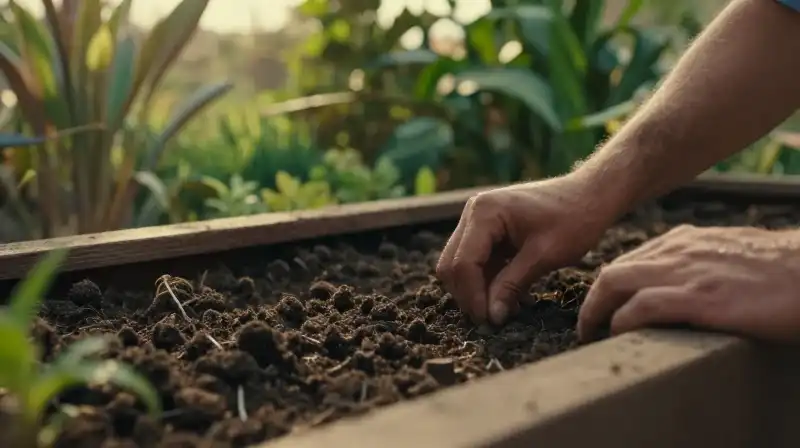
Successful maintenance of a wicking garden beds requires attention to moisture levels and plant health. It is vital to monitor the water level in the reservoir, topping it up as necessary. Excessive moisture in the soil can lead to root rot, which the overflow pipe is designed to prevent. When planting, ensure that the plant’s root ball is adequately seated in the soil medium to establish the primary wick. Over time, soil may need aeration or replacement, particularly if compaction reduces the soil’s ability to draw water effectively.
Synthesizing Practical Implementation Criteria

The primary success of a wicking bed DIY project hinges on the seamless integration of three elements: structural integrity, moisture management, and appropriate layering. Do not attempt to bypass the overflow pipe, as it is your fail-safe against systemic flooding. Always use a quality internal liner when working with porous materials like wood to guarantee water retention. By prioritizing these engineering principles—reliable plumbing, defined layers, and careful component selection—your self-watering system will provide a low-maintenance, highly productive environment for your horticultural goals.
Frequently Asked Questions
What do you put in the bottom of a wicking bed?
At the very bottom of the bed, install a layer of coarse, inert material like gravel or leca to create the dedicated reservoir space. Above this, a separation layer, such as weed-proof geotextile fabric, is placed to prevent soil from washing into the drainage layer.
DIY Construction of a Wicking Bed
Establish Dimensions
Determine the final size. Wicking beds are most effective when the soil layer is sufficiently deep to allow for optimal water retention, usually 12-18 inches of soil.
Prepare the Base
If using a wooden bed, install and secure the internal liner, ensuring no sharp edges remain. If using metal, apply appropriate sealant.
Drill and Secure Plumbing
Carefully drill holes into the designated locations for the inlet and overflow pipes. These holes must be reinforced or sealed to prevent leaks. Attach the pipes and the connecting bendy pipe according to the system design.
Install Drainage and Reservoir
At the very bottom of the bed, install a layer of coarse, inert material (gravel or leca). This creates the dedicated reservoir space beneath the growing medium.
Layer the Sub-Structure
Place a barrier layer (such as weed-proof geotextile fabric) over the gravel reservoir. This allows water retention while preventing the soil from washing into the drainage layer.
Add Wicking Medium and Soil
Begin filling the bed with the engineered soil mix. The soil itself acts as the wicking medium, drawing water upward. Ensure the soil level is below the overflow point but high enough for deep root growth.
Related Articles