Growing Sunflower Microgreens: From Soaking to Harvest

Introduction
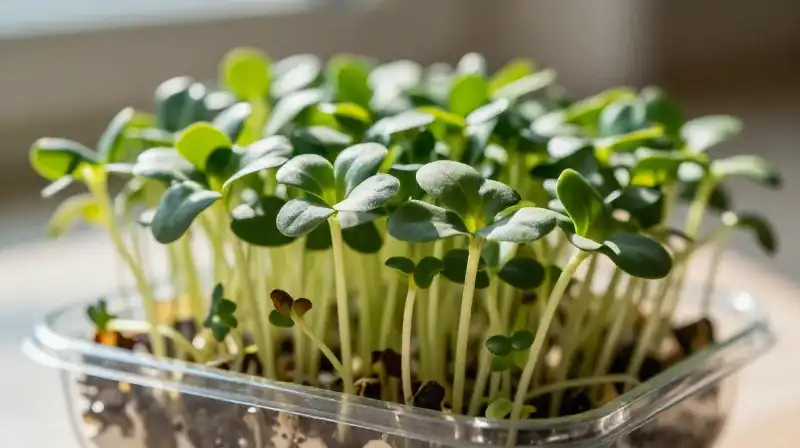
Growing sunflower microgreens yields nutrient-dense greens that are highly versatile in cooking and often serve as a quick, fresh source of energy. Successfully cultivating them requires precision in several distinct phases: from the initial soaking to the final harvest. This comprehensive guide details the necessary environmental controls and timing required to transition sunflower seeds into vibrant, edible shoots, ensuring optimal yield.
Initial Preparation and Seed Activation
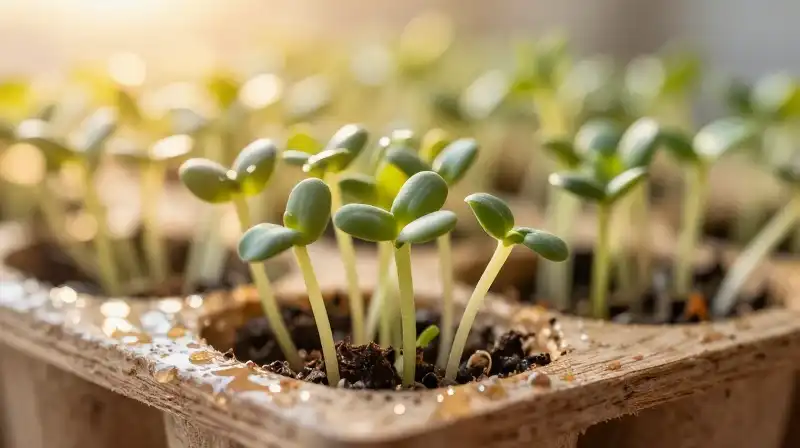 The first critical step is pre-sprouting, a process designed to break seed dormancy and trigger germination. Sunflower seeds must be soaked for 8 to 12 hours in cool water, ideally maintained between 60 and 70°F. This duration is vital to allow the seeds to absorb moisture thoroughly, which initiates the metabolic processes necessary for sprouting. Following the soaking period, the sprouting phase is maintained by repeating cycles of rinsing and draining. Each cycle should last 8 to 12 hours, keeping the seeds at room temperature, preferably around 70°F, while ensuring excellent air circulation. Once the seeds develop a visible hint of a root, typically after 2 to 3 of these cycles, they are ready for planting.
Selecting and Preparing Your Growth Medium
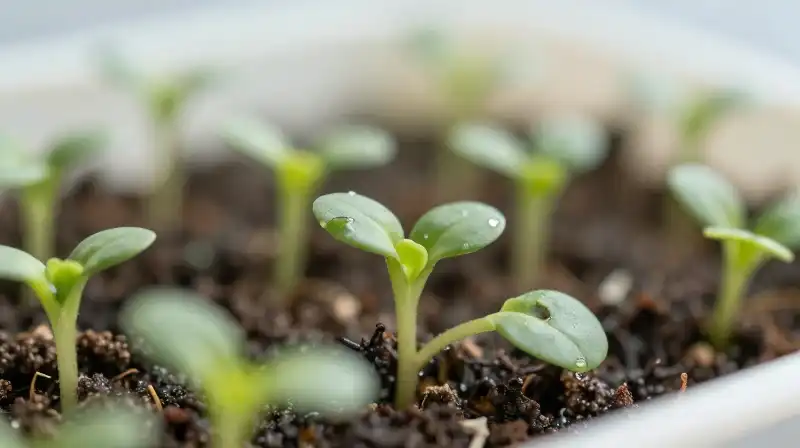 The choice of growing medium impacts moisture retention and root development, so both soilless and soil-based methods should be considered based on preference and resources. For those utilizing soil, moisture retention is paramount. It is recommended to incorporate up to 20% earthworm castings into the growing mix. The addition of castings helps regulate moisture levels, providing a rich, stable environment for the developing roots. Soilless alternatives offer superior control and are particularly useful for indoor setups. Options include high-quality vermiculite or a pre-saturated “baby blanket” medium, which provides a highly consistent, moist substrate that ensures uniform germination across the tray.
Optimizing Planting Density and Initial Environment
When planting the activated seeds, achieving a high density is recommended to maximize the final crop yield. It is acceptable for seeds to be intentionally overlapping, provided that immediate vigilance is maintained regarding mold or fungal issues. After the seeds are planted, the focus must be on high humidity while still allowing for airflow. To achieve this, cover the planting tray with an inverted tray. This covering traps moisture close to the soil surface. This initial covering phase should last for 3 to 4 days, providing the protected, moist environment the delicate shoots require to stabilize.
Transitioning to Light and Consistent Hydration
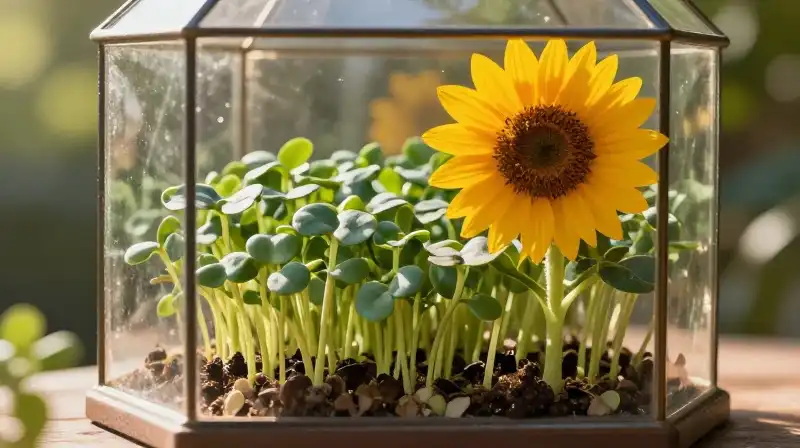 Once the initial protective covering is removed after 3 to 4 days, the microgreens must be moved to a well-lit area. Direct sunlight is the most recommended light source for maximizing the health and vigor of the sunflower microgreens. Watering requirements shift based on the medium used.
- Soil-Based Growing: Requires thorough, deep moisture to ensure all established roots have access to hydration.
- Soilless Methods: These may necessitate more frequent, shallow watering, or the use of a dedicated drip tray to maintain moisture levels without waterlogging the seeds.
Harvest Criteria and Optimal Storage
Harvest timing is critical for flavor, texture, and maximum nutritional content. Sunflower microgreens should be harvested when the shoots are between 2 and 4 inches tall and possess clearly visible green leaves. Crucially, harvesting must occur strictly before the development of “true leaves,” which signifies the end of the microgreen stage. Proper storage is essential for maintaining freshness. Harvested greens must be thoroughly dried to remove excess surface moisture. Once dry, they should be immediately placed in a sealed container and stored within the refrigerator.
Practical Considerations and Success Warnings
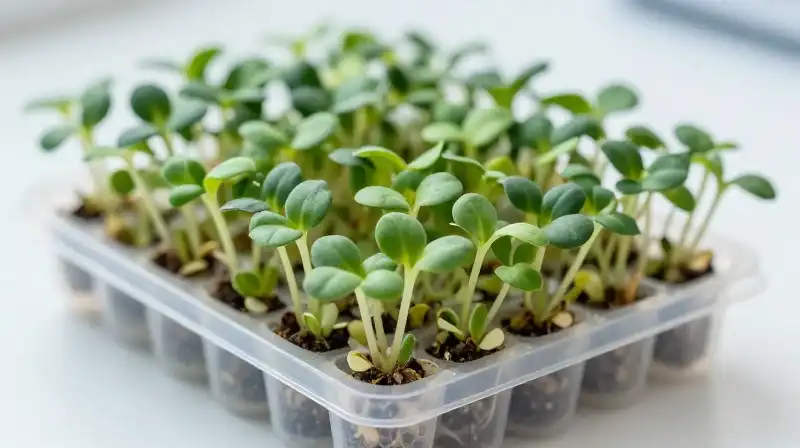 To guarantee a successful harvest of sunflower microgreens, attention must be paid to three primary factors: temperature, humidity control, and early monitoring. Temperature Stability: Maintaining consistent temperatures, especially during the sprouting cycles, prevents stress and promotes uniform growth. Erratic temperature swings can inhibit germination, even if the water is correctly calibrated. Mold and Fungus Prevention: Due to the high moisture levels during the sprouting and initial covering phases, a heightened risk of fungal growth exists. Regular visual inspections are necessary to remove any early signs of mold promptly. Humidity Management: While high humidity is needed initially, it must be balanced by adequate air circulation. Insufficient circulation can trap moisture, leading directly to the aforementioned fungal risks.
Frequently Asked Questions
Can I grow microgreens from sunflower seeds?
Yes, you can grow sunflower microgreens from seeds, and the article provides a comprehensive guide detailing the environmental controls and timing required to transition them into vibrant, edible shoots.
How to Grow Sunflower Microgreens
Soak and Sprout Seeds
Soak sunflower seeds in cool water for 8 to 12 hours (60-70°F). Repeat rinsing and draining cycles (8-12 hours) until roots develop (2-3 cycles).
Prepare Growing Medium
Select a soil-based or soilless growing medium. If using soil, mix in up to 20% earthworm castings to regulate moisture.
Plant Seeds
Plant the activated seeds at a high density in the prepared medium.
Initial Humidity Phase
Cover the planting tray with an inverted tray and maintain this high-humidity environment for 3 to 4 days.
Transition to Light
Remove the covering after 3 to 4 days and move the tray to a well-lit area, preferably under direct sunlight.
Maintain Hydration
Water the microgreens thoroughly. Soil-based methods require deep moisture, while soilless methods may require more frequent, shallow watering.
Check for Pests and Health
Regularly inspect the greens for signs of mold or fungus, ensuring adequate air circulation to prevent moisture buildup.
Determine Harvest Timing
Harvest the microgreens when the shoots are 2 to 4 inches tall and have clearly visible green leaves, strictly before true leaves appear.
Store Microgreens
Thoroughly dry the harvested greens to remove excess surface moisture, then place them in a sealed container inside the refrigerator.
Related Articles