Evergreen Sumac: Guide to Seed Pre-treatment and Germination
Introduction
Evergreen sumac (Rhus virens) produces beautiful red fruit clusters in the fall, but harvesting the seeds requires more than just gathering them. Unlike many common garden annual seeds, the seeds of this native shrub possess deep dormancy, meaning they will not sprout simply by being planted in soil. To achieve successful germination, the seed must first undergo a specific, multi-step pre-treatment process designed to break its natural dormancy. This guide details the requirements for harvesting, the two essential processes of cold stratification and scarification, and the subsequent steps needed to raise these seeds into a healthy young plant.
Harvesting and Identifying Seeds for Germination
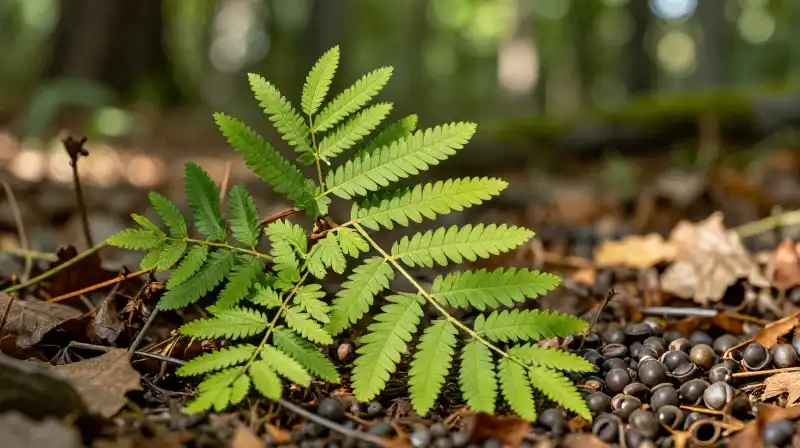 Successful propagation begins with sourcing viable seeds from mature, healthy red fruit clusters. These clusters are typically collected during the autumn. When harvesting, ensure that the seeds are fully developed and that the fruit tissue is dry.
Note that sumac seeds are often tiny and may require gentle cleaning to remove the surrounding pulp. Because sumac seeds are relatively resilient, they can be stored in a cool, dry, dark location to maintain viability until you are ready to begin the pre-treatment process.
The Necessity of Dormancy Breaking
 The seeds of the evergreen sumac are naturally protected by a dormancy period. This is an evolved survival mechanism designed to prevent germination during unfavorable conditions. To germinate, this dormancy must be intentionally overcome through two primary, specific methods: cold stratification and scarification. Ignoring these steps is the most common reason for failure, as the seeds will likely remain dormant even after extended periods of sowing.
Step 1: Cold Stratification Requirements
 Cold stratification simulates the winter conditions the seeds experienced naturally, which is a key signal to the seed that it is safe to begin growth. This process involves exposing the seeds to cold temperatures for a specific duration.
While precise scientific requirements can vary, standard practice involves placing the seeds in a suitable medium—such as a moist paper towel or peat moss—and keeping them in a refrigerator (approx. 1–4°C) for the necessary time to induce dormancy breakdown. This process must be monitored to ensure the seeds remain moist but do not begin to rot during the chilling period.
Step 2: Detailed Scarification Techniques
Scarification is the process of physically or chemically breaking down the seed’s tough outer coating (seed coat) or leaching inhibitory chemicals. Since *Rhus virens* seeds are resistant, advanced techniques are often necessary.
Standard Soaking Method
For a less intensive approach, you can attempt basic soaking. Placing the seeds in room-temperature water for 24 hours can sometimes soften the seed coat. This method is less reliable than chemical treatments but serves as a foundational step.
Advanced Thermal Leaching
The most effective way to ensure inhibition removal is through an advanced thermal scarification technique. This process uses temperature to leach out growth inhibitors naturally present in the seed.
- Place the seeds in a container of hot water maintained at 80–90°C.
- Allow the seeds to soak in this heat.
- Crucially, allow the seeds to cool completely to room temperature before rinsing. This allows the inhibitors to leach out efficiently.
Sowing the Prepared Seeds
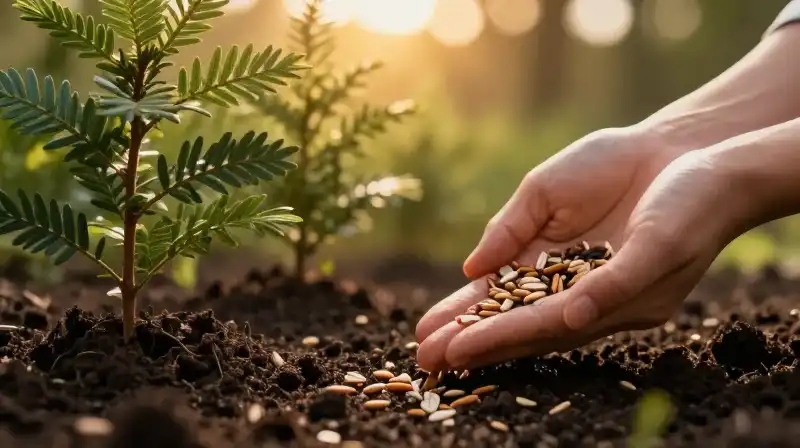 Once the seeds have completed both cold stratification and scarification, they are ready for planting. The method requires starting the seeds indoors, as direct planting into the ground is unlikely to yield success.
Selecting the Correct Medium
Use a specialized, well-draining potting mix for germination. The potting mix should be lightweight and possess good aeration to allow for proper root development. Too heavy a soil mixture will impede drainage and suffocate the delicate young roots.
Planting Protocol
Sow the pre-treated seeds in individual pots rather than in a collective tray. This practice allows you to manage individual pots and ensures that each seed receives optimal space to establish itself. Ensure the soil is kept consistently moist during the sowing process.
Post-Sowing Care and Monitoring Germination
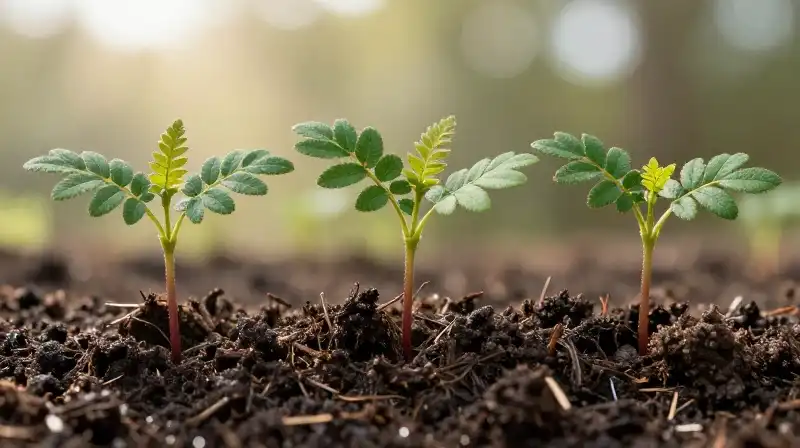 After sowing, the young plants require specific environmental conditions to sustain initial growth and encourage strong root and stem development.
- Placement: Place the pots in a location that receives consistent sunlight.
- Water Maintenance: Maintain consistently moist soil, but be cautious not to overwater. Excess moisture in a warm environment can lead to seed rot.
- Patience: Understand that germination for the evergreen sumac is a slow process. The typical window for successful germination can span up to 6 to 8 weeks, so sustained care and checking are necessary.
Practical Warnings and Decision Criteria
Successfully propagating evergreen sumac requires adherence to two strict protocols: dormancy breaking and environmental control. Do not skip the pre-treatment stages. If your seeds are not germinating after following these detailed steps, consider the viability of the seeds themselves, as seeds that have been exposed to extreme heat or prolonged cold without proper preparation may fail. Always prioritize the consistent moisture and sunlight after sowing, but remember that the initial breakthrough is entirely dependent on the proper completion of cold stratification and scarification.
How to Successfully Germinate Evergreen Sumac (Rhus virens) Seeds
Harvest Seeds
Collect seeds from mature, healthy red fruit clusters during autumn. Ensure the seeds are fully developed, gently clean them to remove surrounding pulp, and store them in a cool, dry, dark location.
Cold Stratification
Place the seeds in a suitable medium (such as a moist paper towel or peat moss) and keep them in a refrigerator (1–4°C) for the duration required to break dormancy. Monitor the seeds to ensure they remain moist but do not begin to rot.
Scarification (Advanced Thermal Leaching)
Place seeds in a container of hot water maintained at 80–90°C, allowing them to soak. Crucially, allow the seeds to cool completely to room temperature before rinsing to leach out inhibitory chemicals.
Prepare Planting Medium
Select a specialized, well-draining potting mix that is lightweight and possesses good aeration to support proper root development.
Plant the Seeds
Sow the pre-treated seeds in individual pots rather than a collective tray to allow optimal space. Ensure the soil is kept consistently moist during this initial sowing process.
Provide Post-Sowing Care
Place the pots in a location that receives consistent sunlight and maintain consistently moist soil, while being careful not to overwater to prevent seed rot.
Related Articles