Growing Coneflower Seeds: The Essential Guide to Successful Planting

Introduction
Coneflowers are native to the United States and are among the most reliable perennial choices for drought-tolerant gardens. Recognized for their vibrant blooms, these daisy-family plants serve a vital ecological role as powerful attractors for local pollinators. While they are generally hardy, achieving successful growth from seed requires adherence to specific horticultural steps, most notably proper seed preparation and understanding their specific light and moisture needs. A clear understanding of these requirements allows you to move beyond general planting tips and achieve a resilient, thriving patch of these beautiful flowers.
Essential Requirements for Thriving Coneflowers
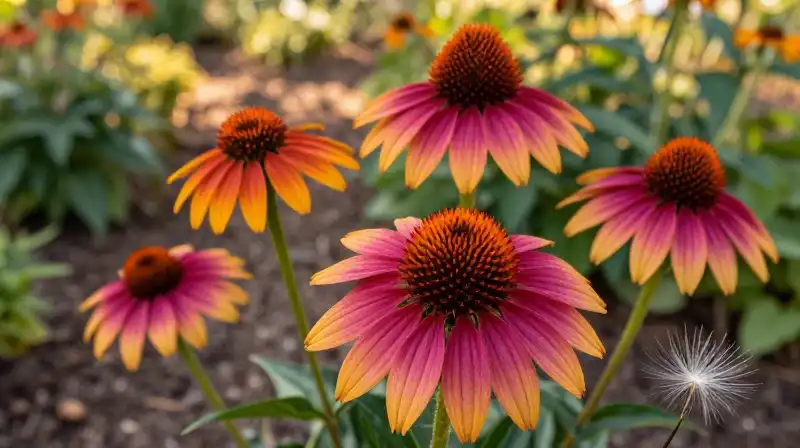
Before sowing, it is crucial to set up the environment for success. Coneflowers are designed to thrive in specific conditions. They are highly adaptable to various garden styles, making them an excellent choice for xeriscapes, yet they still demand consistent preferences for optimal development.
Light and Moisture Needs
- Sunlight: Coneflowers require bright, full sun exposure to germinate and develop robust, full-sized blooms.
- Water: These plants are notably drought-resistant and typically do not need supplemental watering in climates with regular rain. However, they perform best in areas with moderate, consistent moisture provided by rainfall.
- Soil: They demand well-drained soil. Excess moisture or poor drainage can hinder root development and lead to root rot, which should be avoided.
Companion Planting and Growth Habit
Coneflowers are non-aggressive and do not spread excessively. This allows them to work effectively alongside other species. Popular and compatible companions include phlox, bee balm, and black-eyed Susans. Their presence enhances biodiversity without requiring constant maintenance.
The Role of Cold Stratification
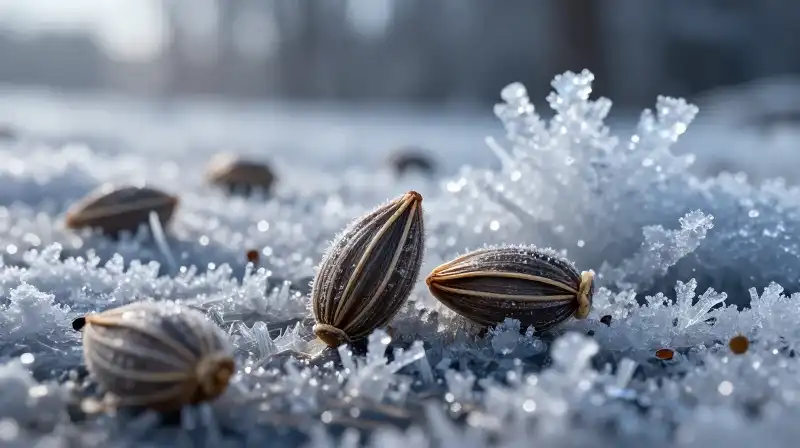
Perhaps the most critical step in growing cone flower seeds is cold stratification. Because these seeds require a winter-like period to mimic natural triggers for germination, they must undergo this conditioning before sowing.
This process involves soaking the seeds and keeping them in a sealed plastic bag within the refrigerator. The general recommendation for this duration is approximately eight to twelve weeks. This preparatory step significantly increases the viability of the seeds and ensures they have the necessary environmental signals to begin sprouting once moved to warmer soil.
Sowing Techniques: Timing and Placement
Successful sowing depends heavily on timing and physical planting method. Coneflowers require direct light for germination, which dictates how they must be placed in the ground.
Direct Sowing Outdoors
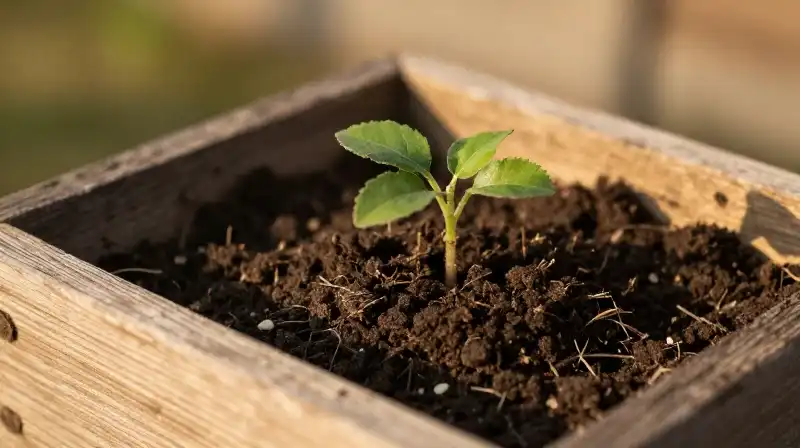
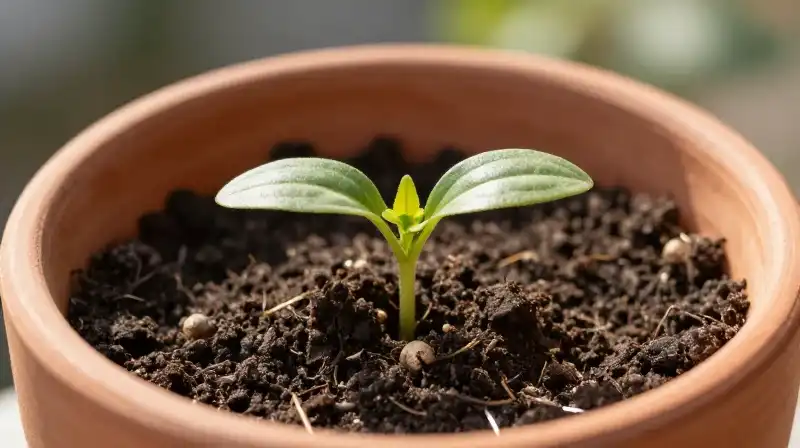
Once the soil temperature is appropriate and the threat of the final frost has passed, you can sow the seeds directly onto the surface of the soil. This direct broadcasting is essential; seeds should never be covered by soil or mulch, as they rely entirely on sunlight to germinate.
Sowing can be done late in the fall after the last frost or early in the spring, depending on local climate and temperature requirements for the specific variety.
Starting Indoors (Alternative Approach)
If you wish to start seeds indoors for an earlier harvest, begin the process six to eight weeks before the anticipated final frost date. However, even when starting inside, the seeds must still be broadcast directly onto the surface of the soil without covering them.
Maintenance and Seasonal Care
Once the plants are established, minimal intervention is usually needed. Focus on general garden health and periodic rejuvenation.
Feeding the Plant
In most standard climates with normal rainfall, cone flowers do not require supplemental fertilization. You should only consider adding a high-phosphorus fertilizer if you observe that the blooms are unusually stunted or failing to develop properly, as this targets root and flower development.
Rejuvenating Spent Blooms
To encourage the plant to allocate energy toward future seasons, periodic rejuvenation is beneficial. When the flowers become spent and begin to fade, cutting the plant back by approximately one-third can help re-energize the plant, ensuring a vigorous performance in subsequent years.
Harvesting and Propagation: Saving Seeds
Coneflowers are excellent for garden-to-garden propagation, meaning you can save seeds from the blooms to ensure future planting. If you intend to keep this tradition going, learning how to collect the seeds is a valuable skill.
Collecting Seed
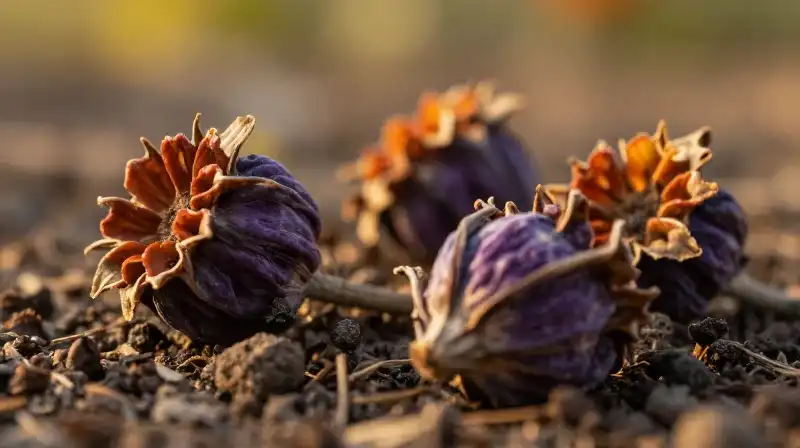
The mature flower head will eventually dry out. Once the seed pods have fully ripened and turned brown, you can carefully gather the seeds. This process of collecting, separating them from any chaff, and storing them is how you maintain a consistent supply of home-grown cone flower seeds.
Keep in mind that collecting seeds is typically done by hand or using simple mechanical methods to ensure you separate the desirable seeds from the dry, ineffective plant matter.
Practical Precautions for Success
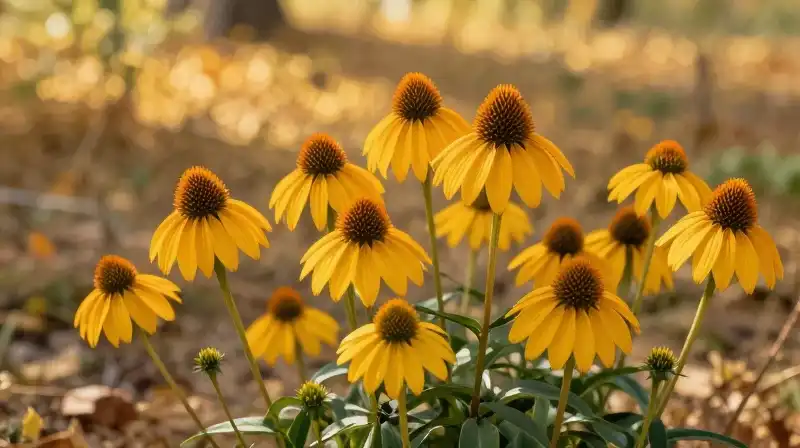
For a successful cone flower yield, understanding the limits and potential pitfalls is as important as understanding the benefits. These tips help prevent common issues.
While cone flowers are generally hardy, gardeners should be mindful of the following:
- Drainage is Paramount: Never plant in soil that retains standing water. Ensure your site has excellent drainage.
- Patience with Germination: Due to the necessity of cold stratification, expect germination to take time. Do not assume failure if seedlings do not appear immediately after sowing.
- Sunlight Consistency: Because they require bright, full sun, placing them in partial shade will significantly diminish the size of the blooms and overall vigor of the plant.
Frequently Asked Questions
Can I save seeds from coneflowers?
Yes, coneflowers are excellent for garden-to-garden propagation, meaning you can save seeds from the blooms to ensure future planting. Once the seed pods have fully ripened and turned brown, you can carefully gather the seeds.
How to Grow Coneflowers from Seed
Cold Stratification
Soak the seeds and keep them in a sealed plastic bag within the refrigerator for approximately eight to twelve weeks to mimic natural winter conditions.
Prepare Soil and Timing
Ensure the soil is well-drained. For direct outdoor sowing, wait until the soil temperature is appropriate and the threat of the final frost has passed.
Direct Sowing
Directly broadcast the seeds onto the surface of the soil. Never cover the seeds with soil or mulch, as they require sunlight to germinate.
Maintain Environment
Place the plants in an area that receives bright, full sun exposure and ensure the soil receives moderate, consistent moisture from rainfall.
Seasonal Rejuvenation
When the flowers become spent and begin to fade, cut the plant back by approximately one-third to encourage new energy for future seasons.
Collect Seeds
Once the mature flower heads have dried and the seed pods are fully ripened and brown, carefully gather the seeds, separating them from the dry plant matter, and store them.
Related Articles