Planting Bare Root Strawberries: A Step-by-Step Guide to Success

Introduction
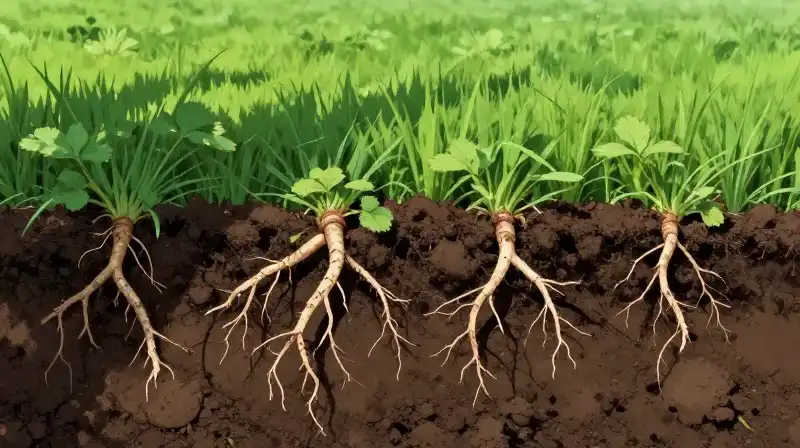
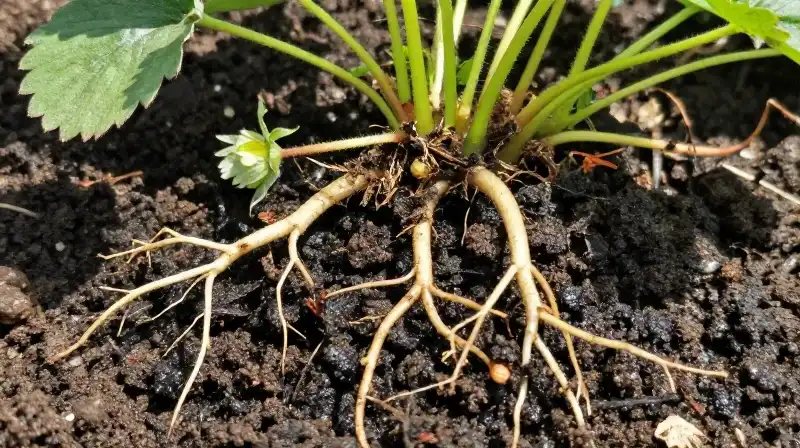
Planting bare-root strawberries is a rewarding practice that delivers strong, productive plants, but success depends heavily on adhering to specific timing and preparation protocols. Bare-root strawberries are dormant plants—essentially bundles of gangly roots attached to a crown—that must be properly established for the following season’s harvest. This guide outlines the precise steps for maximizing survival rates, from proper timing to the final post-plant care, ensuring your new plants thrive rather than simply surviving.
Optimal Timing and Storage of Bare Roots
The ideal window for planting bare-root strawberries is late winter or early spring. This timing coincides with the plants being fully dormant and the ground being workable, which minimizes stress during the critical establishment phase. If you have purchased bare roots too early and the soil is still too cold or wet, temporary storage is essential to prevent root rot.
For temporary storage, keep the roots wrapped in damp paper or burlap in a refrigerator’s crisper drawer. They can be stored safely for up to two weeks before needing to be planted. However, even if stored, the soil temperature must reach a minimum threshold before planting to allow for proper root activation.
Preparing the Planting Site and Soil Mixture
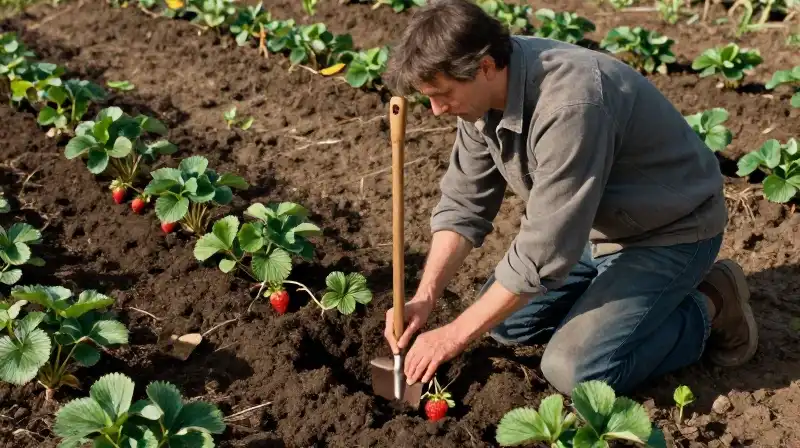
The foundation of a successful strawberry patch is the site preparation. Strawberries require full sun, meaning a minimum of six to eight hours of direct sunlight daily. Crucially, they require excellent drainage; berries hate standing water. Before amending the soil, incorporate any necessary compost and remove stubborn weeds or old, diseased plant matter.
While the soil type is important, the ratio of components determines drainage and structure. A highly recommended soil mixture balances structure with nutrients:
- 60% Topsoil: Provides the bulk of nutrients and structure.
- 30% Coarse Grit: This can be sand, pumice, or perlite, and is vital for ensuring optimal drainage and aeration.
- 10% Compost: Adds organic matter to retain necessary moisture and provide a slow feed.
Step-by-Step Root Preparation and Execution
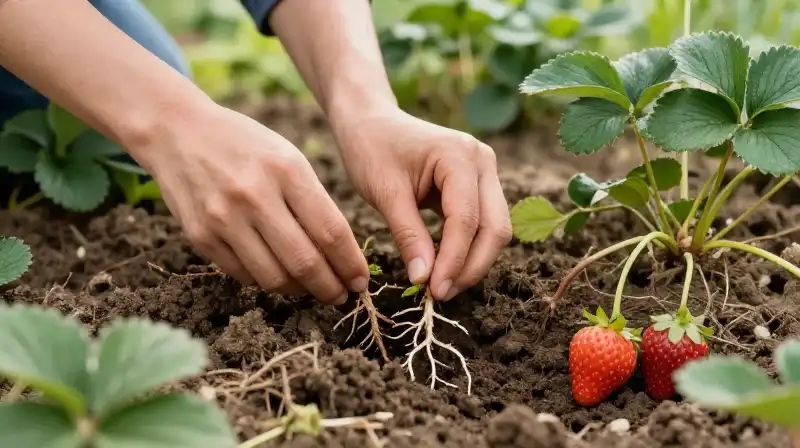
Before placing the plants in the ground, roots benefit from a brief soaking period, which helps rehydrate and soften the root structure. This process is optional, but it significantly aids in faster establishment. You can enhance this natural rehydration by soaking the roots for 2–4 hours in water mixed with a liquid kelp solution, which supports root development.
The actual planting requires careful handling to avoid damaging the fragile roots or displacing the critical crown. Follow these execution steps:
- Dig deep, wide holes to accommodate the root ball and allow for healthy lateral root spread.
- Place the bare root crown (the base of the plant) into the hole, ensuring that it is positioned slightly above the surrounding soil level—not buried too deep.
- Backfill the hole, tamping the soil gently but firmly around the roots.
- Check spacing against your specific cultivar’s needs, as overcrowding leads to competition for light and nutrients.
Note that appropriate spacing varies significantly by plant type: day-neutral plants require about 10 inches of space, everbearers need 12 inches, and june-bearers require a wider 18 inches to allow for maximum growth.
Addressing Specialized Planting Scenarios and Troubleshooting
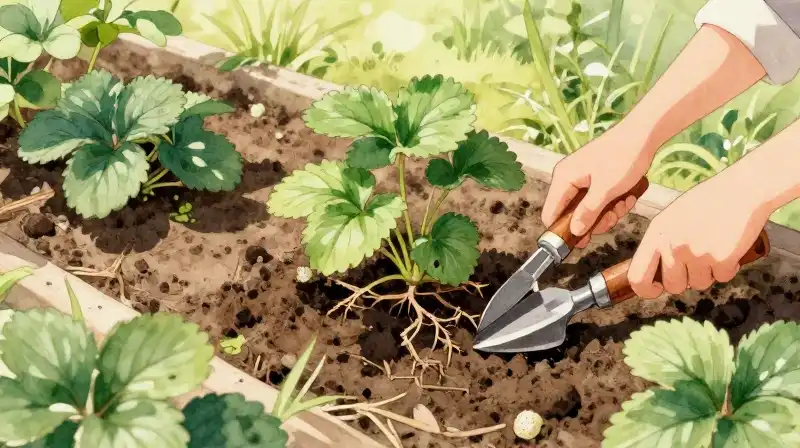
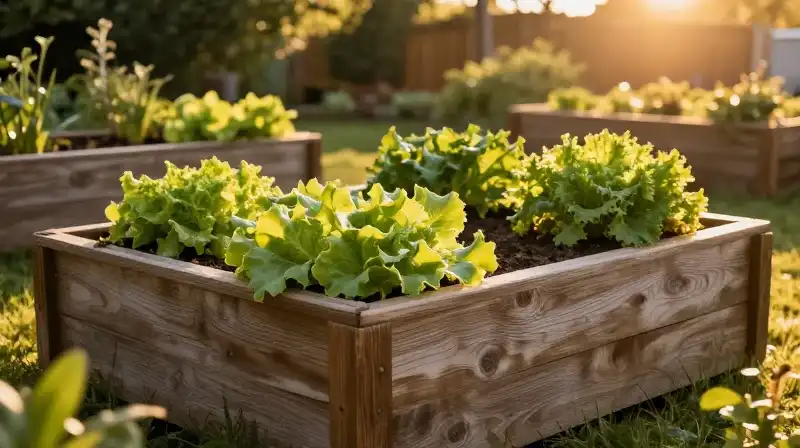
While most gardeners plant in the ground, bare-root strawberries can also be successfully planted in pots or raised beds, which can offer better control over drainage and soil quality. If planting in a container, ensure the pot has ample drainage holes and use the recommended soil mix to prevent compaction.
Regarding the first harvest, bare-root strawberries generally do produce the first year, provided they are planted at the right time (dormancy) and given adequate care. However, by pinching off the first flush of blossoms, you encourage the plant to put energy into developing a more robust and resilient root system, which sets the stage for a stronger second and subsequent harvests.
Post-Planting Care and Long-Term Maintenance
Once planted, the immediate goal is to protect the nascent root system and control weeds. Apply a layer of straw mulch around the base of the plants. The straw suppresses weed growth, protects the vulnerable crowns from temperature fluctuations, and helps retain moisture in the soil.
Fertilizing is crucial but should wait. Do not fertilize immediately. Wait until the first flowers begin to appear before applying a slow-release organic fertilizer or a general all-purpose granular fertilizer. This timing ensures the plant has established its root system first, maximizing the efficiency of the nutrients.
Final Assessment: Keys to Strawberry Success
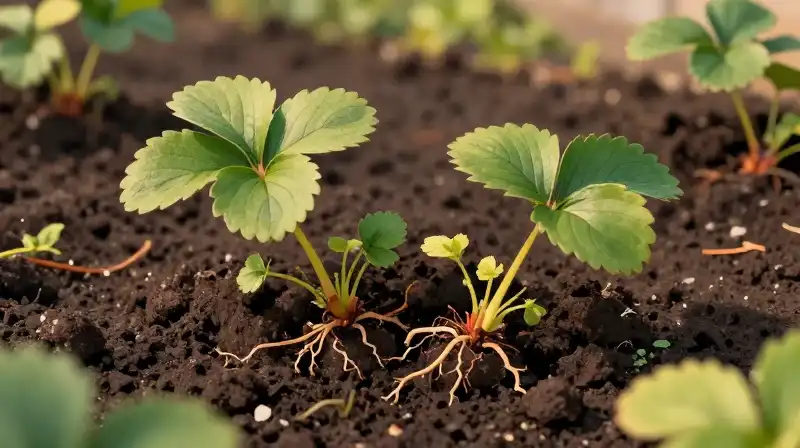
To ensure your planting journey is a success, focus on these critical checkpoints:
- Drainage First: Ensure the planting site or container drains completely. Poor drainage is the single greatest cause of failure.
- Crown Depth: Never bury the crown deeper than the root ball. The crown is the plant’s growing center.
- Patience with Feeding: Delay fertilization until flowering begins to ensure foundational root strength.
- Spacing: Adhere strictly to the spacing recommendations based on your cultivar type for optimal air circulation and light access.
Following these guidelines ensures that you are not just planting a dormant root ball, but are actively managing the conditions required for a robust, high-yielding strawberry plant.
Frequently Asked Questions
How do you plant strawberry bare roots?
Dig deep, wide holes and position the bare root crown slightly above the surrounding soil level, ensuring it is not buried too deep. Backfill the hole, tamp the soil, and check the spacing according to your specific cultivars needs.
How to Plant Bare-Root Strawberries
Prepare the Planting Site
Ensure the site receives 6 to 8 hours of direct sunlight and has excellent drainage, removing all weeds and diseased plant matter.
Mix the Soil Blend
Create a drainage-friendly soil mixture using a 60% Topsoil, 30% Coarse Grit (sand, pumice, or perlite), and 10% Compost ratio.
Rehydrate the Bare Roots
Optional: Soak the bare roots for 2-4 hours in water mixed with a liquid kelp solution to rehydrate and soften the root structure.
Dig and Place the Plants
Dig deep, wide holes. Place the bare root crown (the base of the plant) into the hole, ensuring it is positioned slightly above the surrounding soil level.
Backfill and Space
Backfill the hole, tamping the soil gently. Check and maintain appropriate spacing based on your cultivar (e.g., 10-18 inches).
Apply Post-Planting Care
Apply a layer of straw mulch around the base of the plants to suppress weeds and retain moisture. Do not fertilize until the first flowers begin to appear.
Related Articles