How to Make Seed Bombs: DIY Guide to Wildflower Habitat
Introduction
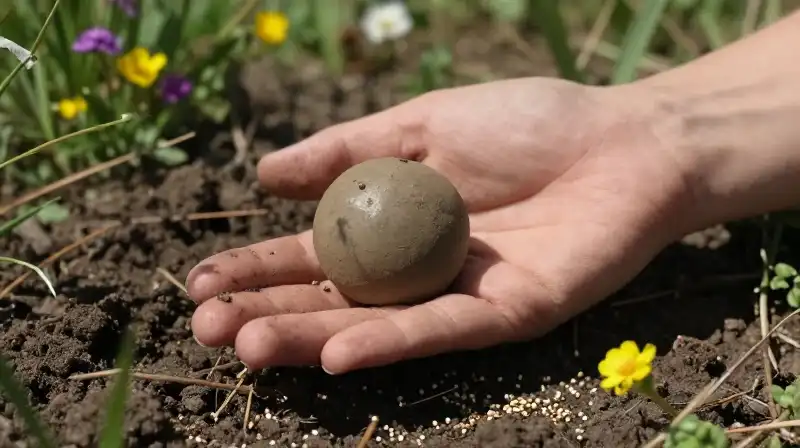
>Seed bombs are practical tools for localized ecological restoration, providing essential food and habitat for pollinators while simultaneously dispersing native wildflowers. At their core, these DIY seed balls encapsulate wildflower seeds within a mix of soil and a binding agent—typically clay—creating a self-planting habitat. This guide provides the detailed steps for making seed bombs, covering materials, proportions, and advanced techniques to ensure successful germination and maximize your impact on local ecosystems.
Choosing the Right Ingredients and Proportions
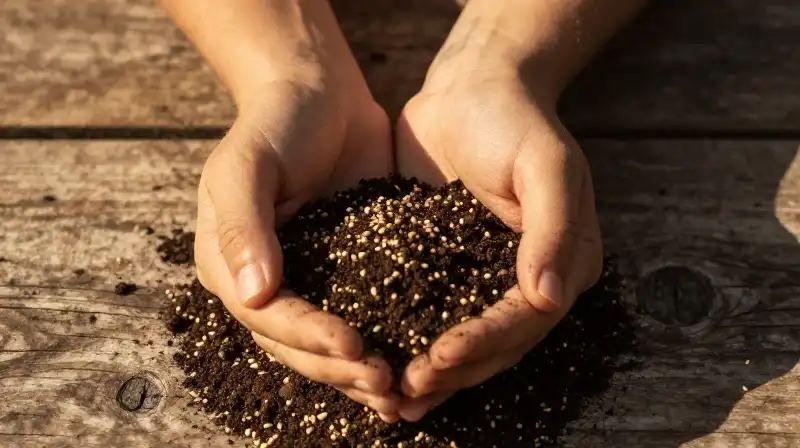 >The success of a seed bomb depends heavily on the quality of the components and the specific ratio of the mixture. Unlike general DIY projects, seed bomb creation requires specific ecological considerations, particularly regarding the seeds used.
Crucially, always select seeds that are native to your immediate geographical area. Using non-native species risks introducing invasive plants that may harm local biodiversity. For an ideal mix, combine:
- Native Wildflower Seeds: The primary component, chosen for their ability to support local pollinators.
- Binding Agent: Usually non-toxic clay, which hardens to protect the seeds until moisture triggers germination.
- Base Material: Organic potting soil or compost, which provides nutrients for the initial sprouting stage.
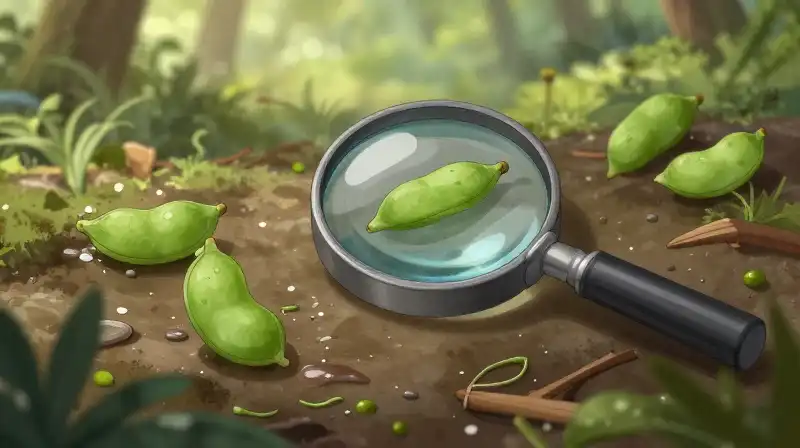
The recommended ratio for structural integrity and moisture retention is approximately four parts clay to one part soil or compost. Adjust this proportion based on the clay’s consistency; if the clay is very loose, add more, or if it is highly malleable, you may need slightly less to achieve a firm, pea-sized ball.
Preparation Methods: Clay vs. Alternatives
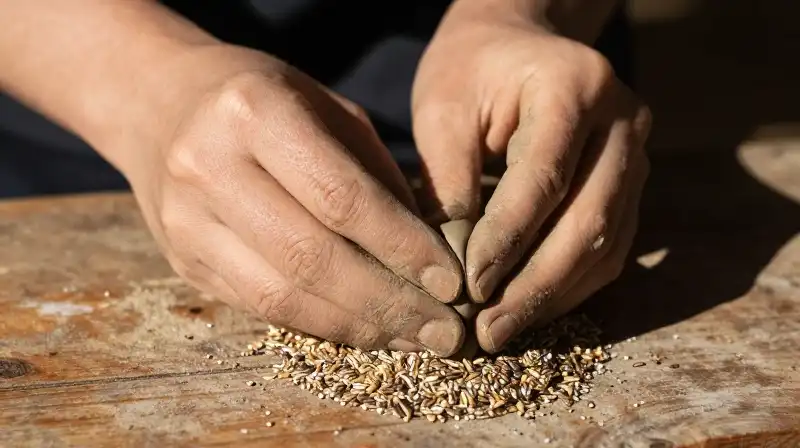 >Not all seed bombs are made from the same base. Different binding agents affect the ease of construction, the resulting durability, and how quickly the bomb breaks down.
If you are seeking different approaches than traditional clay, consider these options:
| Method | Ease of Use | Breakdown Speed | Best For |
|---|---|---|---|
| Modeling/Pottery Clay | Easy (Malleable) | Moderate | Beginners, children, and structured projects. |
| Clay Powder & Compost | Moderate (Messy) | Fastest | Rapid dispersal and composting. |
| Paper Seed Balls | Easy (Accessible) | Slower | Convenience and using recycled materials. |
A critical point for beginners: modeling or pottery clay is simple to work with, but it is dense and may require manual effort to break apart once planted. Clay powder, while messy, ensures a quicker disintegration, allowing the seeds to be exposed to rainfall sooner.
The Step-by-Step Construction Guide
>Follow this clear process to create a compact, viable seed bomb.
- Form the Clay Base: Start by rolling a flat, thick disc of the clay you have selected. The thickness ensures a protective layer for the internal contents.
- Prepare the Mixture: In a separate bowl, thoroughly combine the organic soil and the native wildflower seeds. You may add optional materials, such as a small amount of organic compost or dried pressed flowers, to enrich the mix.
- Encasing the Seeds: Place a scoop of the seed and soil mixture in the center of the clay disc.
- Sealing the Bomb: Carefully fold the clay over the mixture, pressing the edges firmly to create a completely sealed interior.
- Final Shaping and Drying: Roll the clay mass into a small, compact ball, typically about a quarter-size. Allow the finished bombs to dry completely for 1 to 2 days. This hardening process is vital for the bomb’s structural integrity during transport and storage.
Addressing Common Material Questions
 >Specific materials, such as those found in craft stores, require careful consideration regarding the viability of the seed.
While common craft materials are often tempting, they rarely provide the optimal environment for seed germination.
Can you use Crayola air dry clay to make seed bombs? While the clay will harden, Crayola air dry clay is primarily used for modeling and does not offer the same soil structure or porosity as organic clay or natural compost mixes. Using it may lead to a bomb that is too dense and difficult for water to penetrate, hindering the seeds’ ability to sprout. For optimal results, seek non-toxic, organic modeling clay or pure earth-based clay powder.
Storing and Planting for Maximum Germination
>Proper handling before and after creation is essential.
Storage: Once dried and hardened, store your seed bombs in a cool, dry, and dark place. Paper seed balls, which often use accessible construction paper, should be stored flat in a sealed paper bag to maintain their shape until needed.
Activation and Planting: To activate the seed bombs, either bury them partially beneath the soil surface or toss them into hard-to-reach areas. The clay casing is designed to protect the seeds until rainfall or intentional watering begins to wash the exterior away. In late winter or early spring, applying these bombs allows you to utilize natural rainfall to initiate the germination process. Watering frequently in dry spells, especially during the first few weeks, significantly increases the success rate of the wildflower population.
Essential Takeaways and Best Practices
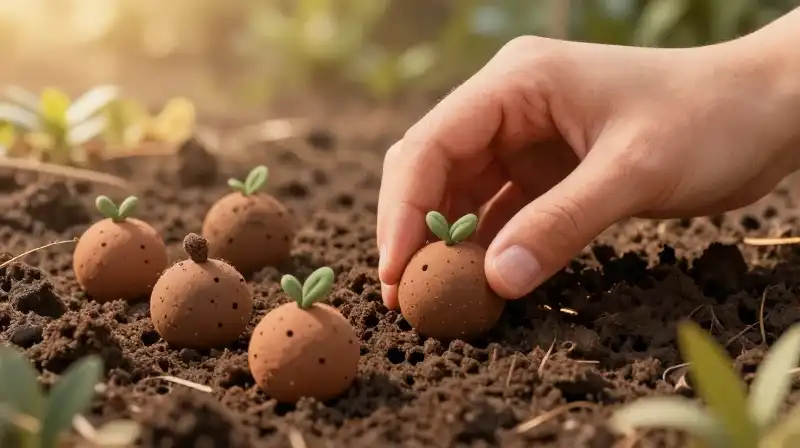 >Making seed bombs is a low-cost, high-impact method of supporting native biodiversity. To ensure your effort supports the local ecosystem rather than disrupting it, keep these critical priorities in mind:
- Seed Authenticity: Never use exotic or non-native seeds; they must be native to the planting location.
- Environmental Matching: The best time to plant depends on your climate, but late winter to early spring often allows for natural runoff to start the process.
- Protection vs. Degradation: While the clay protects the seeds from dehydration, ensure the final product is designed to break down once moisture is introduced, allowing the seeds to sprout.
- Maintenance: After placement, monitor the areas regularly. While these bombs are self-starting, frequent watering or ensuring proper placement is key to overcoming environmental hurdles.
Frequently Asked Questions
Can you use Crayola air dry clay to make seed bombs?
Crayola air dry clay will harden but lacks the soil structure and porosity of organic clay or natural compost, which may result in a bomb that is too dense and difficult for water to penetrate, hindering the seeds ability to sprout.
How to make seed bombs
Form the Clay Base
Start by rolling a flat, thick disc of the clay you have selected. The thickness ensures a protective layer for the internal contents.
Prepare the Mixture
In a separate bowl, thoroughly combine the organic soil and the native wildflower seeds. You may add optional materials, such as a small amount of organic compost or dried pressed flowers, to enrich the mix.
Encasing the Seeds
Place a scoop of the seed and soil mixture in the center of the clay disc.
Sealing the Bomb
Carefully fold the clay over the mixture, pressing the edges firmly to create a completely sealed interior.
Final Shaping and Drying
Roll the clay mass into a small, compact ball, typically about a quarter-size. Allow the finished bombs to dry completely for 1 to 2 days. This hardening process is vital for the bomb's structural integrity during transport and storage.
Related Articles