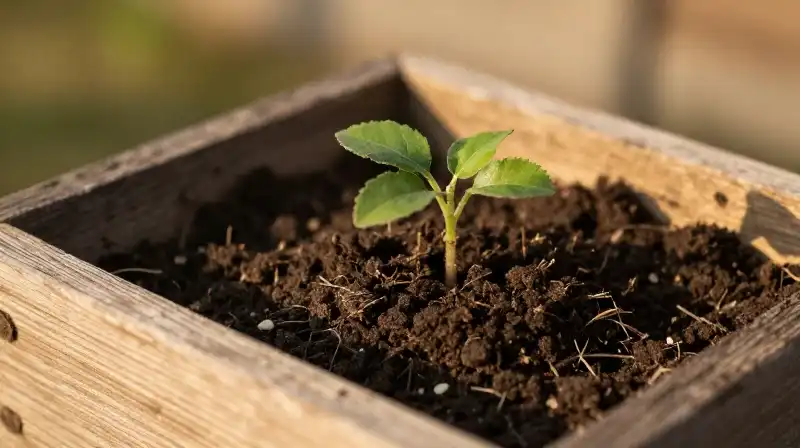
What Is Hydroseeding? A Guide to Slurry Application for Lawns

Introduction
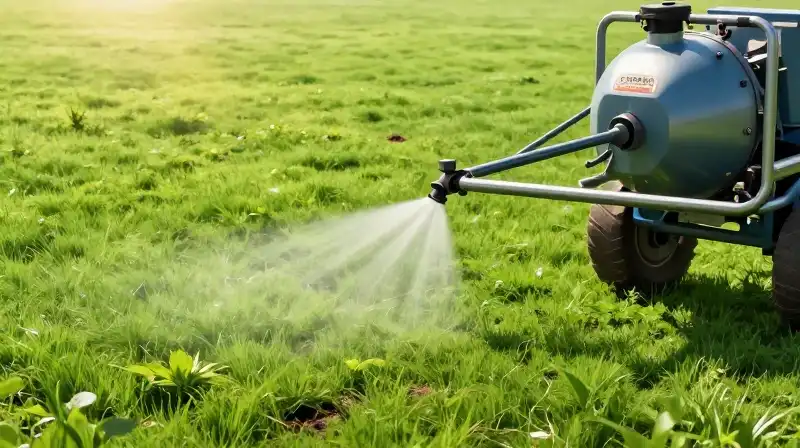
Hydroseeding is a specialized landscaping technique used to establish ground cover, typically for lawns, using a liquid mixture known as a slurry. Rather than scattering individual seeds over a surface—a process known as broadcasting—hydroseeding applies all necessary components in one controlled application. This method is designed to efficiently cover large areas, stabilize soil, and encourage fast germination, particularly in challenging terrains like steep slopes or areas prone to erosion. By combining seed, mulch, fertilizer, and various additives into a high-pressure mix, hydroseeding ensures that the growing environment is immediately established, significantly streamlining the seeding process.
The Science of the Slurry
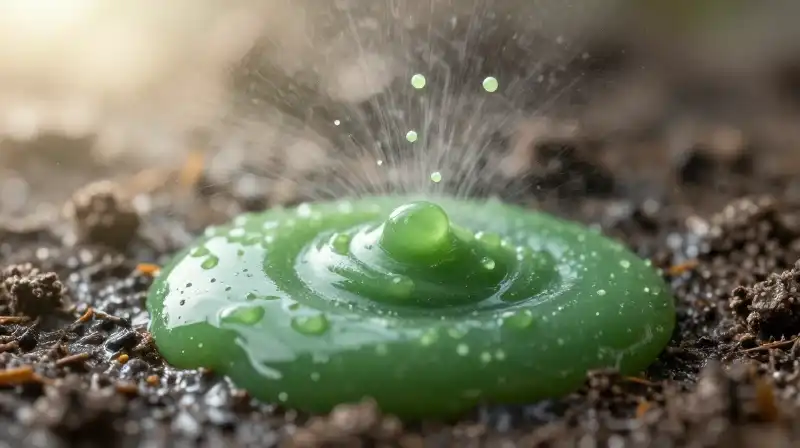 The success of hydroseeding hinges entirely on the composition of the slurry—a carefully calibrated mixture applied to the target area. This mixture is far more complex than just grass seeds. It is engineered to create a comprehensive protective and nurturing blanket for the germinating seeds.
Slurry Components and Functions
The following ingredients are mixed into the slurry tank and delivered under high pressure:
- Grass Seeds: The primary component, selected based on the intended landscape use and climate.
- Mulch (Wood Fiber/Paper): Provides a vital protective layer, retaining moisture, and preventing the seed from being washed away by rain.
- Fertilizer: Supplies essential nutrients needed for rapid and robust initial plant growth.
- Tackifiers: These sticky agents are crucial, especially on inclines, helping the slurry adhere to the soil and preventing runoff.
- Dyes: Often used simply for visual identification and to make the newly seeded area easily visible during the establishment phase.
- Water: The medium that carries all the other ingredients through the application nozzle.
How the Process Works: From Ground Preparation to Application
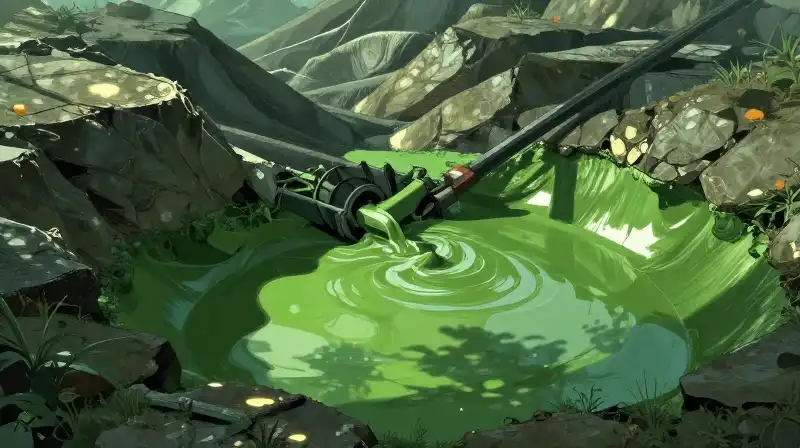 Hydroseeding is not merely pouring a liquid onto the earth; it is a multi-step professional process that requires thorough preparation before the slurry even leaves the machine.
Pre-Application Requirements
Before hydroseeding begins, the land must be prepared to ensure optimal growth:
- Soil Testing: Testing the soil for pH levels and toxicity is essential. This determines whether specific amendments (like lime) must be added to ensure the soil supports successful germination.
- Ground Preparation: The area must be addressed structurally. This involves regrading, leveling uneven patches, or amending the soil quality.
- Equipment Deployment: Because full-scale hydroseeding requires precise, even application across wide areas, professional-grade, often truck-based, specialized hydroseeder machines are necessary.
Application Mechanism
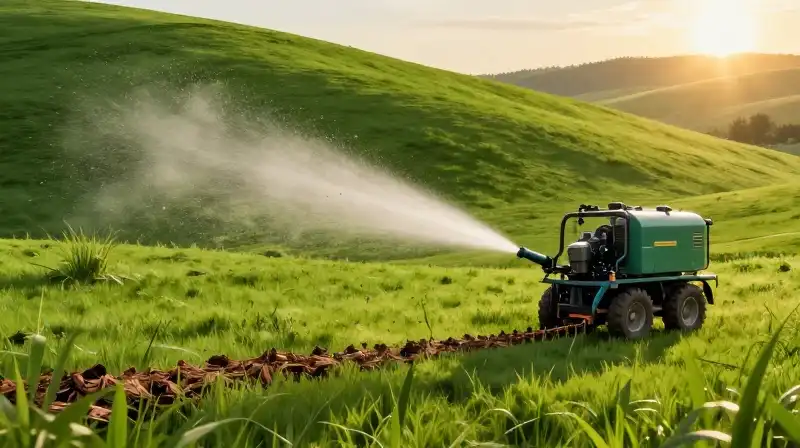
The application itself utilizes specialized equipment that either pumps the slurry through hoses or dispenses it from high-pressure towers. The high pressure ensures that the mixture evenly blankets the surface, ensuring that every patch of soil receives a consistent application of seed, mulch, and nutrients.
When to Use Hydroseeding: Scope and Suitability
Hydroseeding offers a distinct advantage in scenarios where traditional methods, such as hand-seeding or laying sod, are impractical, time-consuming, or too costly.
| Application Type | Description and Benefit | Best Use Case |
|---|---|---|
| Erosion Control | The protective layer of mulch and the rapid application of seed stabilize loose soil, preventing wash-off during heavy rains. | Construction sites, steep slopes, and newly disturbed ground. |
| Large Area Coverage | Unlike individual broadcasting, hydroseeding ensures uniform coverage of vast expanses quickly and cost-effectively. | Commercial properties, large acreage restoration, and new developments. |
| Difficult Terrain | It is ideal for slopes where laying sod would be physically impossible or dangerously unstable. | Hillside landscaping and challenging grades. |
| Patch Repair | While professional application is ideal for major repairs, small DIY sprayers can manage minor, contained patch failures. | Very small garden areas or localized erosion spots. |
Deciding on a Strategy: Professional vs. DIY
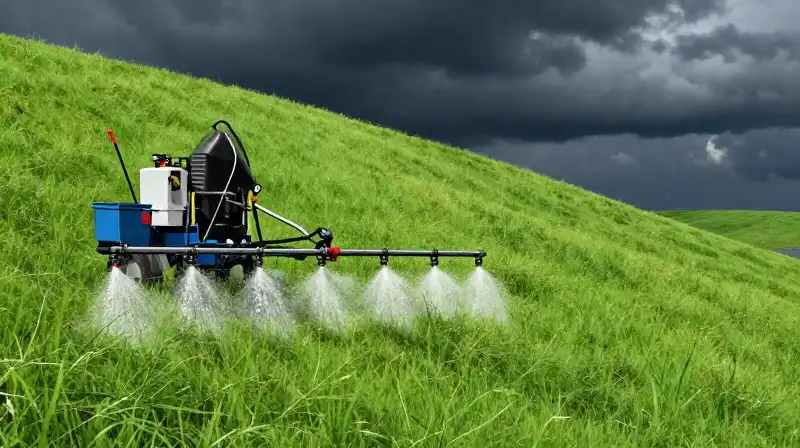 The decision between professional services and a DIY approach must be weighed against the scale, complexity, and required guarantees of the project.
Professional Application
Hiring a professional service is highly recommended for almost all major projects. The advantages include:
- Precision: Professionals ensure even coverage and proper ratio mixing, guaranteeing optimal seed-to-soil contact.
- Equipment Scale: They possess the necessary truck-mounted, industrial-grade machinery required for expansive or challenging jobs.
- Expertise: They possess the knowledge required for soil testing, slurry customization, and post-application care.
DIY Limits and Considerations
While small seed sprayers allow for DIY methods, they are strictly limited in scope. They are only effective for extremely small, flat areas. DIY users must accept a higher risk regarding uneven coverage, especially if the underlying soil is not perfectly prepared.
Critical Post-Application Care
 The work is not finished once the slurry is applied. Successful establishment requires dedicated maintenance, particularly during the critical initial weeks.
Ensuring Seed Establishment
The fresh seed requires consistent protection and moisture to thrive.
- Irrigation: The area must be lightly irrigated several times a day for several weeks. Consistent moisture is necessary for the seeds to fully germinate and for the young grass to gain a foothold.
- Protection Period: Allow the area to remain protected from heavy foot traffic or excessive wear until the grass is fully established.
- Integration with Services: Hydroseeding is often best integrated with other preparatory services, such as fill and topsoil delivery, to maximize the chance of success.
Synthesis: Practical Criteria for Success
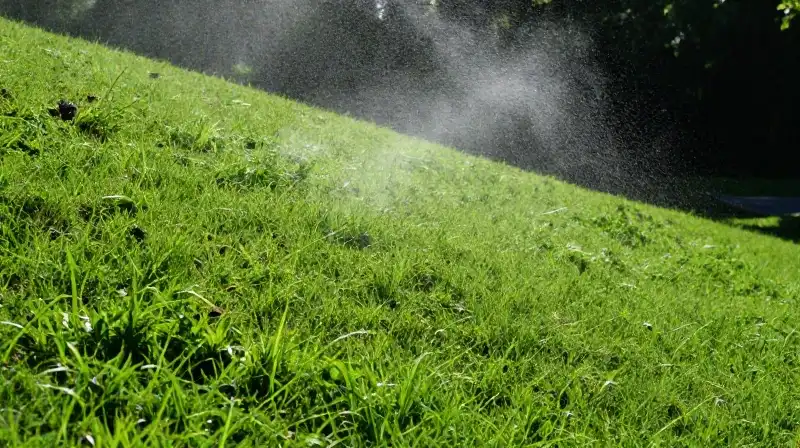 Hydroseeding is a powerful, efficient method for large-scale land restoration and coverage, particularly when dealing with slopes or erosion. However, it is a process of commitment, not a guaranteed single step. The key differentiators between a successful outcome and failure are:
- Pre-Application Prep: Never skip the soil testing and regrading. The initial preparation dictates the entire process.
- Scale and Complexity: For anything beyond a small patch, professional, truck-based application is the necessary standard for quality and uniformity.
- Post-Application Dedication: Successful growth relies heavily on continuous, diligent irrigation and protection during the early establishment phase.
How to Apply Hydroseeding
Perform Soil Testing
Test the soil for pH levels and toxicity to determine if specific amendments, such as lime, are needed to support successful germination.
Prepare the Ground
Address the land structurally by regrading, leveling uneven patches, or amending the soil quality to ensure optimal growth conditions.
Assemble the Slurry
Mix the slurry components, including grass seeds, mulch (wood fiber/paper), fertilizer, tackifiers, dyes, and water, into the slurry tank.
Deploy Specialized Equipment
Utilize professional-grade, specialized hydroseeder machines equipped to handle wide-area, high-pressure application.
Apply the Slurry
Pump the prepared slurry through hoses or high-pressure towers to ensure the mixture evenly blankets the soil surface and reaches every patch of ground.
Maintain Consistent Irrigation
Lightly irrigate the newly seeded area several times a day for the initial weeks. Consistent moisture is crucial for seeds to fully germinate and for the grass to gain a foothold.
Protect the Seedlings
Allow the area to remain protected from heavy foot traffic or excessive wear until the grass is fully established and the growth is robust.
Related Articles